
Over half of American households admit their under sink cabinet is the messiest spot in the home. This small storage area quickly attracts clutter and forgotten items, making everyday cleaning tasks harder than they need to be. Tackling under sink organization can reclaim lost space, prevent wasted products, and turn an eyesore into a solution. You will learn simple, effective ways to clean, declutter, and maximize even the most awkward under sink spots.
Table of Contents
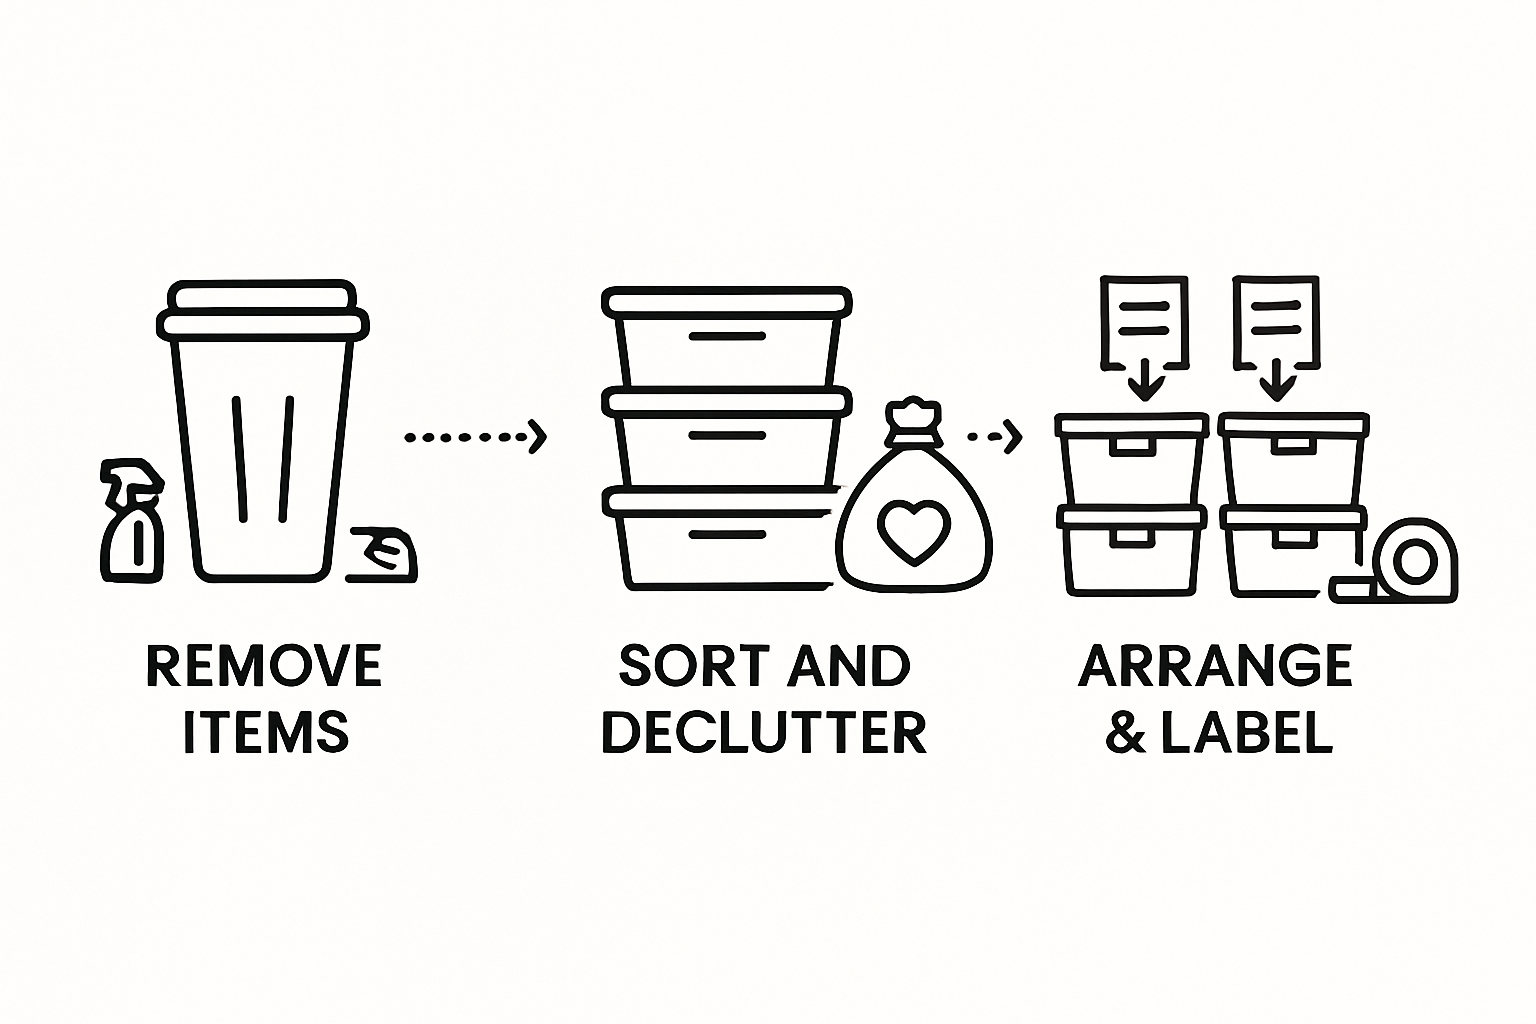
- Step 1: Empty The Area And Clean Thoroughly
- Step 2: Sort Items And Declutter Unused Products
- Step 3: Measure Space And Select Storage Solutions
- Step 4: Arrange Baskets And Containers Efficiently
- Step 5: Check For Accessibility And Visual Appeal
Quick Summary
| Key Point | Explanation |
|---|---|
| 1. Thoroughly Clean the Area | Start by emptying and deep cleaning your under sink area to prepare for organization and prevent issues like mold or damage. |
| 2. Sort and Declutter Items | Evaluate and organize items into keep, donate, and discard piles, keeping only essentials used in the last six months. |
| 3. Measure Space Accurately | Take precise measurements of your under sink area to find storage solutions that fit and adapt to the space effectively. |
| 4. Use Efficient Storage Solutions | Invest in containers and baskets that categorize items, maximizing functionality and accessibility throughout your storage area. |
| 5. Ensure Accessibility and Appeal | Position frequently used items at the front for ease of access and maintain a visually pleasing arrangement to improve usability. |
Step 1: Empty the Area and Clean Thoroughly
Preparing to organize your under sink space starts with a comprehensive clearout. Remove every single item from the cabinet, creating a blank canvas that allows you to evaluate the true potential of this storage area. Carefully inspect the interior for any signs of water damage, leaks, or mold that might compromise your future storage solutions.
Begin by placing all items on a clean towel or countertop, sorting them as you go. Check expiration dates on cleaning supplies, discard empty containers, and separate items you actually use from those that have been sitting untouched for months. This initial sorting process is crucial for creating an efficient storage system. Take this opportunity to wipe down each item and assess its condition before deciding whether it deserves a spot back in your newly organized space.
Once everything is removed, grab a cleaning solution appropriate for your cabinet material and thoroughly scrub the interior. Use a disinfectant cleaner for wooden cabinets, and a specialized bathroom or kitchen cleaner for other surfaces. Pay special attention to corners and edges where grime and moisture can accumulate. Dry the area completely with a clean cloth to prevent potential water damage or mold growth. Your clean and empty cabinet is now ready for the next phase of organization.
Pro tip: Keep a small bucket or container nearby during the cleaning process to collect trash and make disposal quick and efficient.
Step 2: Sort Items and Declutter Unused Products
Now that your under sink area is empty and clean, it is time to strategically sort and declutter your items. Categorize products methodically to create an efficient and streamlined storage system that maximizes your available space. Group similar items together such as cleaning supplies, plumbing tools, sponges, and miscellaneous household products.
Begin by creating three distinct piles: keep, donate, and discard. Ruthlessly evaluate each item for its actual utility and condition. Expired cleaning solutions, half empty bottles, rusted tools, and duplicate products should be immediately removed. Focus on retaining only the items you genuinely use within the past six months. This process not only frees up valuable cabinet space but also prevents unnecessary clutter from accumulating over time.
Quickly dispose of hazardous materials like old chemicals or paint through proper local disposal channels. For items in good condition that you no longer need, consider donating to local community centers or shelters. Decluttering fast means making decisive choices about what truly deserves space in your under sink area. Your goal is to create a functional storage zone that supports your actual household needs rather than becoming a catchall for random items.
Pro tip: Take a photo of your sorted items before returning them to the cabinet. This visual reference will help you maintain your new organizational system in the future.
Step 3: Measure Space and Select Storage Solutions
To transform your under sink area into an organized storage haven, you must first accurately measure the available space using a flexible tape measure. Carefully note the width, depth, and height while paying close attention to potential obstacles like pipes, garbage disposals, or water shut off valves that might impact your storage configuration.

Start by creating a precise sketch of your under sink area, marking exact dimensions and noting the location of any plumbing fixtures. This visual guide will be crucial when selecting storage solutions that maximize every square inch. Look for adjustable or expandable shelving systems that can adapt to your specific space requirements. Explore compact storage solutions that work around unusual plumbing configurations while providing maximum organizational potential.
Consider investing in modular storage options like stackable containers, pull out trays, or tiered shelving that can be customized to fit your unique space. Prioritize solutions with adjustable heights and flexible configurations that can accommodate cleaning supplies, household tools, and miscellaneous items. Remember that the goal is not just to fit items into the space but to create a system that makes everything easily accessible and neatly arranged.
Pro tip: Always leave a few inches of clearance around plumbing fixtures to ensure proper air circulation and prevent potential moisture buildup.
Step 4: Arrange Baskets and Containers Efficiently
Transforming your under sink space requires strategic container organization techniques that maximize functionality and accessibility. Select containers that complement your measured space while providing clear categorization for different types of household supplies. Clear plastic bins with removable labels work exceptionally well for maintaining visibility and creating a systematic storage approach.
Group similar items together in designated containers to streamline your storage system. Cleaning supplies could occupy one basket while plumbing tools occupy another. Organize with baskets systematically by considering frequency of use place frequently accessed items in front and less used items toward the back. Consider investing in stackable containers with secure lids to prevent spills and create vertical storage opportunities that make the most of your available space.
Implement a consistent labeling system that allows anyone in your household to quickly identify and return items to their designated spots. Choose waterproof labels or use a label maker to create uniform markings that resist moisture and wear. Place heavier containers on the bottom and lighter ones on top to maintain stability and prevent accidental tipping. Remember that the ultimate goal is creating a storage system that is both functional and intuitive.
Pro tip: Use clear containers whenever possible so you can instantly see contents without having to open multiple bins.
Step 5: Check for Accessibility and Visual Appeal
The final stage of under sink organization involves creating a space that is both highly functional and visually pleasing. Strategically position frequently used items toward the front of your cabinet for quick and easy access. This means placing everyday cleaning supplies like dish soap, all purpose cleaner, and sponges in the most accessible locations where you can grab them without having to move other containers around.
Step back and critically evaluate your organizational system from multiple perspectives. Examine your storage solutions to ensure they not only look neat but also serve their practical purpose efficiently. Consider the visual harmony of your containers their colors should complement each other and create a sense of order. Use matching bins or containers in similar color tones to create a cohesive and intentional appearance that transforms your under sink area from chaotic to curated.
Take a moment to test the accessibility of your new system. Open and close the cabinet doors multiple times. Reach for different items and see how smoothly you can retrieve what you need. If you find yourself struggling or feeling frustrated, make immediate adjustments. The perfect storage solution should feel intuitive and seamless almost as if the space was designed specifically for your household needs.
Pro tip: Periodically review and refresh your under sink organization every few months to ensure it continues to meet your changing household requirements.
Discover Stylish Solutions for Under Sink Organization Today
Struggling with cluttered and inefficient under sink spaces is a common challenge. Your goal to create a tidy, accessible, and visually appealing storage area that suits your daily needs can be achieved with the right tools. By choosing the appropriate baskets, containers, and adjustable shelving you can transform this often overlooked space into a neat and functional zone that supports your home’s overall order.

Explore our wide range of Bathroom Storage Solutions designed specifically for maximizing small and tricky spaces like under sinks. Our durable and stylish containers come with features that promote ease of use and aesthetic harmony. Visit BLUSHBEES USA for exclusive discounts and bundles that will help you reclaim your cabinet space now. Take control of your home organization with expert products that make tidying effortless and enjoyable.
Frequently Asked Questions
How can I start the under sink organization process?
To begin organizing your under sink space, clear out all items and clean the cabinet interior. Once the area is empty, inspect for any damage and sort items based on their usage.
What should I do with items I no longer need under my sink?
Create three piles for your items: keep, donate, and discard. Evaluate each item for its utility and dispose of expired or damaged products appropriately.
How do I choose the right storage solutions for my under sink area?
Measure the space under your sink carefully, considering factors like pipes and plumbing fixtures. Use these measurements to select storage solutions that maximize your available space and ensure they can accommodate your items effectively.
What are the best ways to arrange items in my under sink storage?
Group similar items together in labeled containers to streamline your storage system. Place frequently used items at the front for easy access and stack items when possible to increase available space.
How often should I reorganize my under sink area?
It’s advisable to review and refresh your under sink organization every few months. This helps adapt your storage solutions to any changes in your household needs, ensuring a tidy and functional space.
What should I do if I can’t access items easily after organizing?
After organizing, evaluate your storage setup for accessibility by opening the cabinet and reaching for different items. If accessing items proves difficult, make adjustments to the arrangement to improve functionality.
Recommended
- Bathroom Counter Organization Ideas for Stylish and Busy Homes (2025) – BLUSHBEES USA
- 10 Home Organization Tips for a More Tidy and Efficient Living Space – BLUSHBEES USA
- Where to Start When Your Whole House is a Mess: Expert Tips – BLUSHBEES USA
- Master Kitchen Countertop Organization for a Tidy Home – BLUSHBEES USA
- Setting Up Under Sink Filters: A Step-by-Step Guide - Coway Water Purifier

