
Most American craft spaces quickly become cluttered, with over 60 percent of crafters admitting they often lose track of supplies. Staying organized makes creative projects smoother and saves money by preventing duplicate purchases. This step-by-step guide reveals practical ways to sort, store, and personalize your craft materials, making it easier for any American maker to find what they need and enjoy a tidy, inspired workspace.
Table of Contents
- Step 1: Sort and Categorize Craft Supplies
- Step 2: Select the Right Storage Solutions
- Step 3: Arrange Supplies for Quick Access
- Step 4: Label and Personalize Storage Options
- Step 5: Maintain and Refresh Your Craft Storage
Quick Summary
| Key Point | Explanation |
|---|---|
| 1. Sort Supplies into Categories | Group items by type for easy identification and access. Use clear labels and distinct containers. |
| 2. Choose Transparent Storage | Utilize clear containers to protect supplies and easily see contents. This enhances organization efficiency. |
| 3. Arrange for Easy Accessibility | Position frequently used items within reach and utilize vertical space for optimal workflow. |
| 4. Implement a Regular Review System | Conduct quarterly audits to declutter and reorganize your supplies, ensuring functionality. |
| 5. Personalize with Effective Labeling | Use consistent and clear labeling methods to instantly identify materials and maintain an organized workspace. |
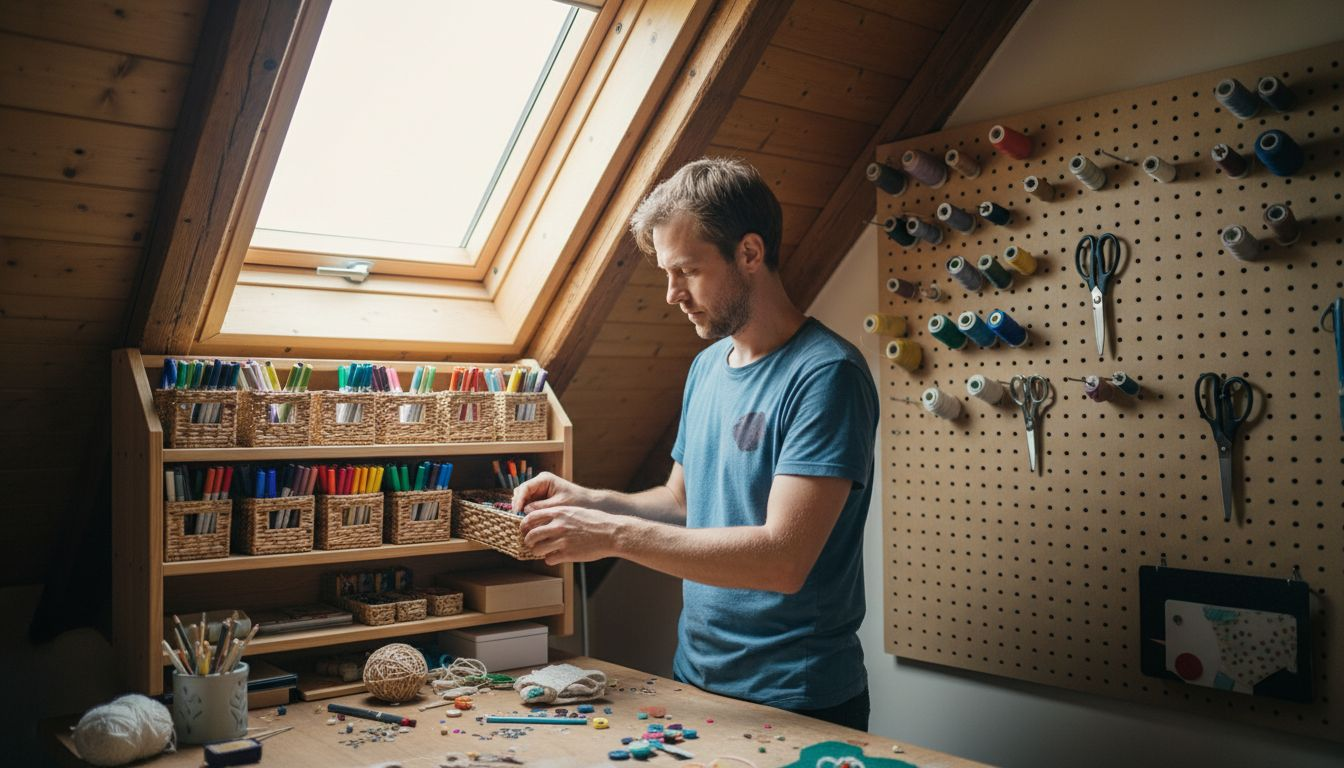
Step 1: Sort and Categorize Craft Supplies
Organizing your craft supplies starts with creating a strategic sorting system that helps you quickly locate and access materials. Efficient craft supply organization involves categorizing items by type, such as separating papers, paints, tools, and embellishments into distinct groups.
Adopt the 4 Section System for a comprehensive approach. This method leverages familiar patterns to enhance memory and retrieval by dividing your supplies into four main categories: Alphabets and Numbers, Themes A Z, The Calendar Year, and The Rainbow. Start by gathering all your craft materials and sorting them into clear storage containers, using specific labels like ‘acrylic paints’ or ‘watercolor papers’ to make identification simple.
To maintain your new organization system, create dedicated spaces for each category. Group similar items together and use transparent containers that allow you to see contents at a glance. This approach not only saves time during creative projects but also helps track your inventory and prevent unnecessary duplicate purchases.
Pro tip: Invest in adjustable storage solutions like modular containers or stackable bins that can grow with your craft collection and adapt to changing organizational needs.
Step 2: Select the Right Storage Solutions
Selecting the perfect storage solutions for your craft supplies requires a strategic approach that balances functionality and accessibility. Utilizing clear plastic containers with lids allows for easy identification of contents while protecting supplies from dust and damage, ensuring your creative materials remain in pristine condition.
Consider incorporating a mix of storage options to maximize your organizational efficiency. Nesting baskets provide scalable storage options that adapt to varying inventory sizes and maximize space efficiency. Look for containers with adjustable compartments, stackable designs, and transparent sides that let you see your materials at a glance. Focus on solutions that can grow with your craft collection, such as modular systems with interchangeable components that allow you to reconfigure your storage as your needs change.
When choosing storage solutions, prioritize versatility and protection. Select containers that are moisture resistant, easy to clean, and designed to keep small items like buttons, beads, and embellishments securely sorted. Pay attention to size variations within your craft supplies and choose containers that can accommodate everything from large fabric rolls to tiny scrapbooking embellishments.
Pro tip: Invest in storage solutions with removable dividers that can be adjusted to create custom compartment sizes, giving you maximum flexibility as your craft supply collection evolves.
Here’s a summary of popular storage solutions and their best use cases:
| Storage Solution | Best For | Key Advantage |
|---|---|---|
| Stackable Bins | Bulky or seasonal supplies | Saves floor space |
| Modular Containers | Supplies with changing quantities | Customizable to collection size |
| Clear Drawers | Small tools, adhesives, embellishments | Contents visible at a glance |
| Pegboards | Frequently used hand tools | Vertical space optimization |
| Caddies with Dividers | Portable projects, easy transport | Quick access, mobility |
Step 3: Arrange Supplies for Quick Access
Creating an efficiently arranged craft space means strategically positioning your supplies for maximum accessibility and workflow optimization. Home organization tips can transform your creative workspace by implementing smart placement strategies that reduce time spent searching for materials.
Arrange your craft supplies using a zone based approach. Group frequently used items within immediate reach, such as placing scissors, glue, and basic tools on a desktop organizer or magnetic strip. Reserve higher shelves or deeper storage for seasonal or specialized supplies you use less often. Consider color coding or using clear labels to create visual shortcuts that help you instantly identify and retrieve specific materials.
Think vertically when organizing your craft area. Utilize wall mounted pegboards, hanging organizers, and adjustable shelving to maximize vertical space and keep your work surface clear. This approach not only saves valuable workspace but also keeps your supplies visible and easily accessible without cluttering your primary creative area.
Pro tip: Create a portable craft caddy with removable compartments that allows you to grab essential tools quickly and move between workspaces without disrupting your entire organizational system.
Step 4: Label and Personalize Storage Options
Labeling each storage container with category names enables quick identification of supplies, transforming your craft organization from chaotic to strategic. By creating clear visual markers, you can instantly locate materials and maintain an efficient workspace.
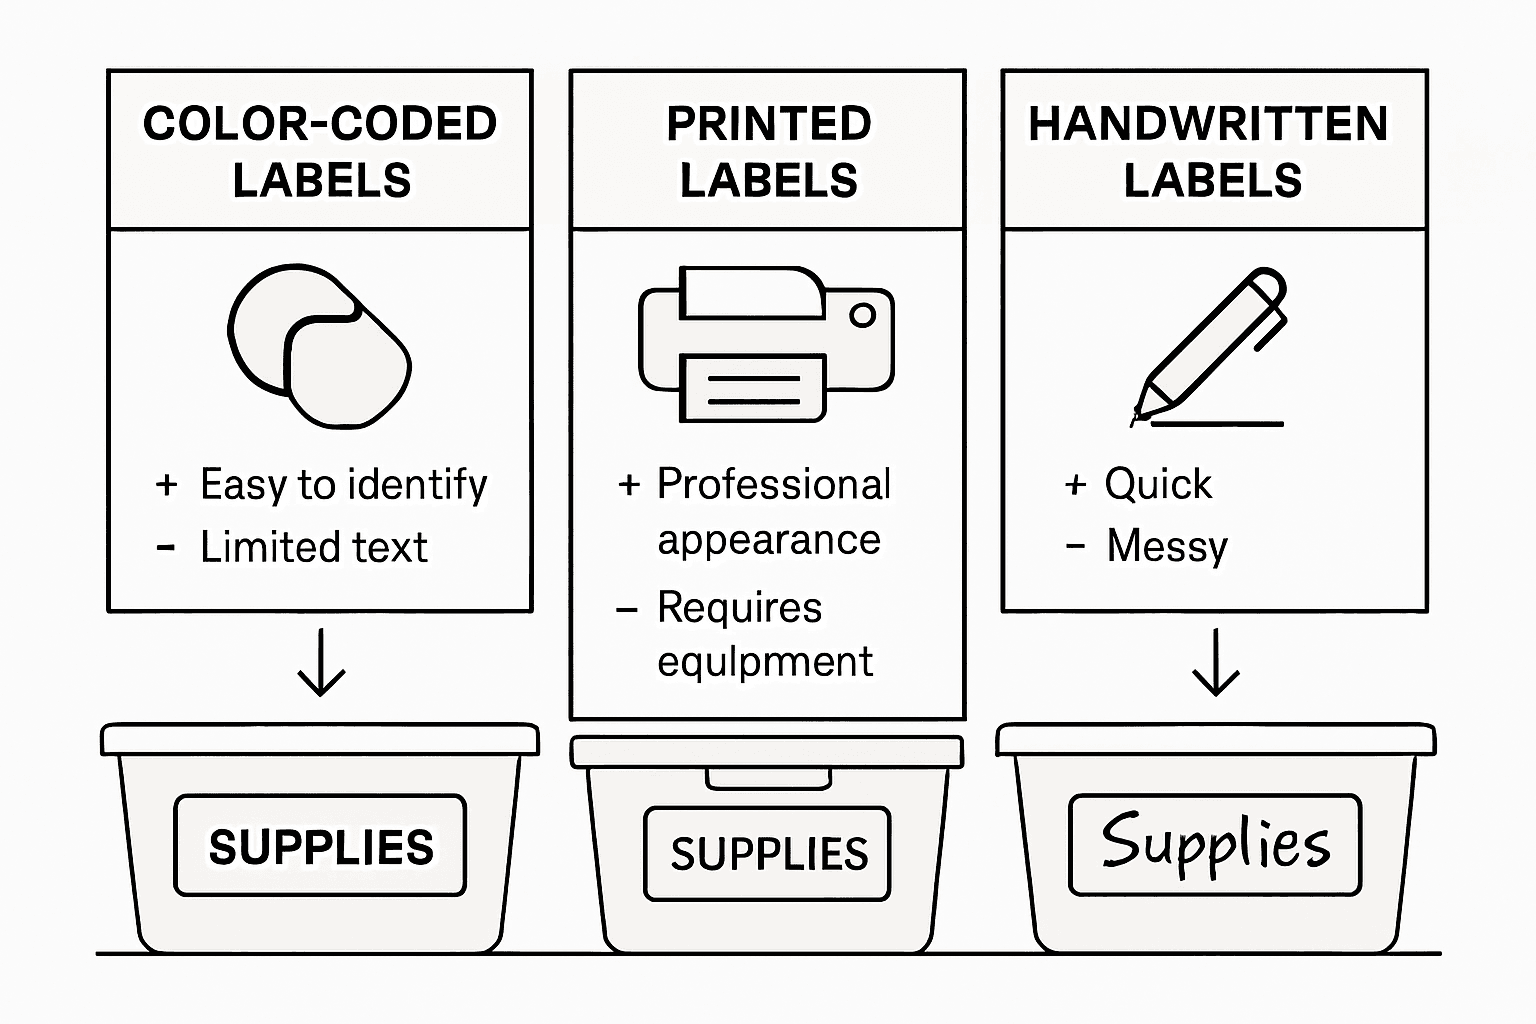
Clear and accurate labeling of storage bins and drawers ensures that supplies are easily located. Choose a consistent labeling system that works for your specific craft needs. Consider using color coded labels that match your storage containers, or create themed labels with small icons representing the contents. Digital label makers work great for crisp, professional looking labels, but handwritten options with decorative markers can add a personal touch to your craft storage.
Personalization goes beyond just identifying contents. Think about incorporating visual cues that make your storage system uniquely yours. Use waterproof stickers, create custom tags with craft related graphics, or add small embellishments that reflect your creative style. This approach not only helps with organization but also makes your storage system more enjoyable and motivating to maintain.
Pro tip: Laminate your labels to protect them from moisture and wear, ensuring they remain legible and attractive throughout multiple crafting sessions.
The table below compares labeling techniques for craft supply storage:
| Labeling Technique | Visual Appeal | Durability | Customization Potential |
|---|---|---|---|
| Printed Labels | Clean and professional | Long-lasting, especially laminated | Limited to fonts and colors |
| Handwritten Labels | Creative and personal | Moderate, can fade over time | Highly customizable, artsy |
| Icon Stickers | Fun and visual | Resistant, waterproof options | Identifies contents instantly |
| Color Coding | Quick identification | Resistant with quality materials | Limited by color options |
Step 5: Maintain and Refresh Your Craft Storage
Regularly decluttering craft supplies by assessing and removing items that are no longer useful or duplicates promotes an organized environment. Maintaining an efficient craft storage system requires periodic review and strategic updates to ensure your creative space remains functional and inspiring.
Schedule quarterly craft supply audits to evaluate your current inventory. Remove damaged materials, expired products like dried paint or old adhesives, and items you no longer use. Create three sorting categories during your review: keep, donate, and discard. Consider donating excess materials to local schools or community centers to support creative programs while clearing space in your own storage system.
Rotate your supplies strategically to prevent forgotten materials from becoming obsolete. Bring older supplies to the front of storage containers and place newer acquisitions toward the back. This approach ensures you use materials before they expire and helps you stay aware of your complete craft inventory. Update your labeling system as your collection evolves and be willing to adjust your storage solutions to match your current crafting interests and project needs.
Pro tip: Set a recurring calendar reminder every three months to conduct your craft supply review, making organization a consistent and manageable part of your creative routine.
Transform Your Craft Space with Smart Storage Solutions
Struggling to keep your craft supplies organized and easy to access can slow down your creativity. This article highlights the importance of sorting, selecting the right storage, and labeling to maintain a seamless craft workflow. If you want to bring order and style to your crafting area, the right storage options are essential for achieving a clutter-free and inspiring environment.

Explore our extensive collection of Bedroom Storage solutions designed to fit perfectly into your creative space. From clear containers to modular organizers, you can tailor your craft storage to fit your unique needs. Don’t wait to upgrade your craft room—visit Blushbees today and take advantage of special offers in our Deal Of The Week section. Start organizing now to make every crafting session smooth and enjoyable.
Frequently Asked Questions
How can I efficiently organize my craft supplies?
To effectively organize your craft supplies, start by sorting items into categories like papers, paints, and tools. Use clear bins and labels for each category, making items easy to locate during creative projects.
What storage solutions work best for craft supplies?
The best storage solutions for craft supplies include clear plastic containers, stackable bins, and modular systems. Opt for containers that can adapt to your collection’s size, such as those with adjustable dividers or transparent sides for quick visibility.
How should I arrange my craft supplies for easy access?
Arrange your craft supplies in zones, keeping frequently used items like scissors and glue within immediate reach. Use vertical storage options like pegboards or shelves to maximize space and maintain a clear work area.
What labeling techniques are ideal for craft storage?
Ideal labeling techniques include color-coded labels, printed options, or decorative handwritten labels that match your storage system. Choose a method that is both durable and visually appealing, ensuring you can quickly identify contents.
How can I maintain and refresh my craft supply storage?
To maintain your craft supply storage, schedule a quarterly audit to assess and declutter your inventory. Create keep, donate, and discard categories, and update your storage solutions and labeling as your crafting needs change to keep your space functional.
Recommended
- Organize Craft Supplies for a Stylish and Functional Space – BLUSHBEES USA
- Craft Room Organization: Create a Functional and Stylish Space – BLUSHBEES USA
- Expert-Approved Small Space Storage Tips And Products – BLUSHBEES USA
- 10 Home Organization Tips for a More Tidy and Efficient Living Space – BLUSHBEES USA

