
A cluttered pantry can waste not just space but also money, with households reportedly throwing out up to 30 percent of their purchased food due to spoilage and disorganization. Keeping shelves neat is about more than appearances. It makes meal prep easier and helps you avoid buying duplicate items you already own. This guide breaks down proven steps to help you transform your pantry into an efficient, tidy zone that saves both time and money every week.
Table of Contents
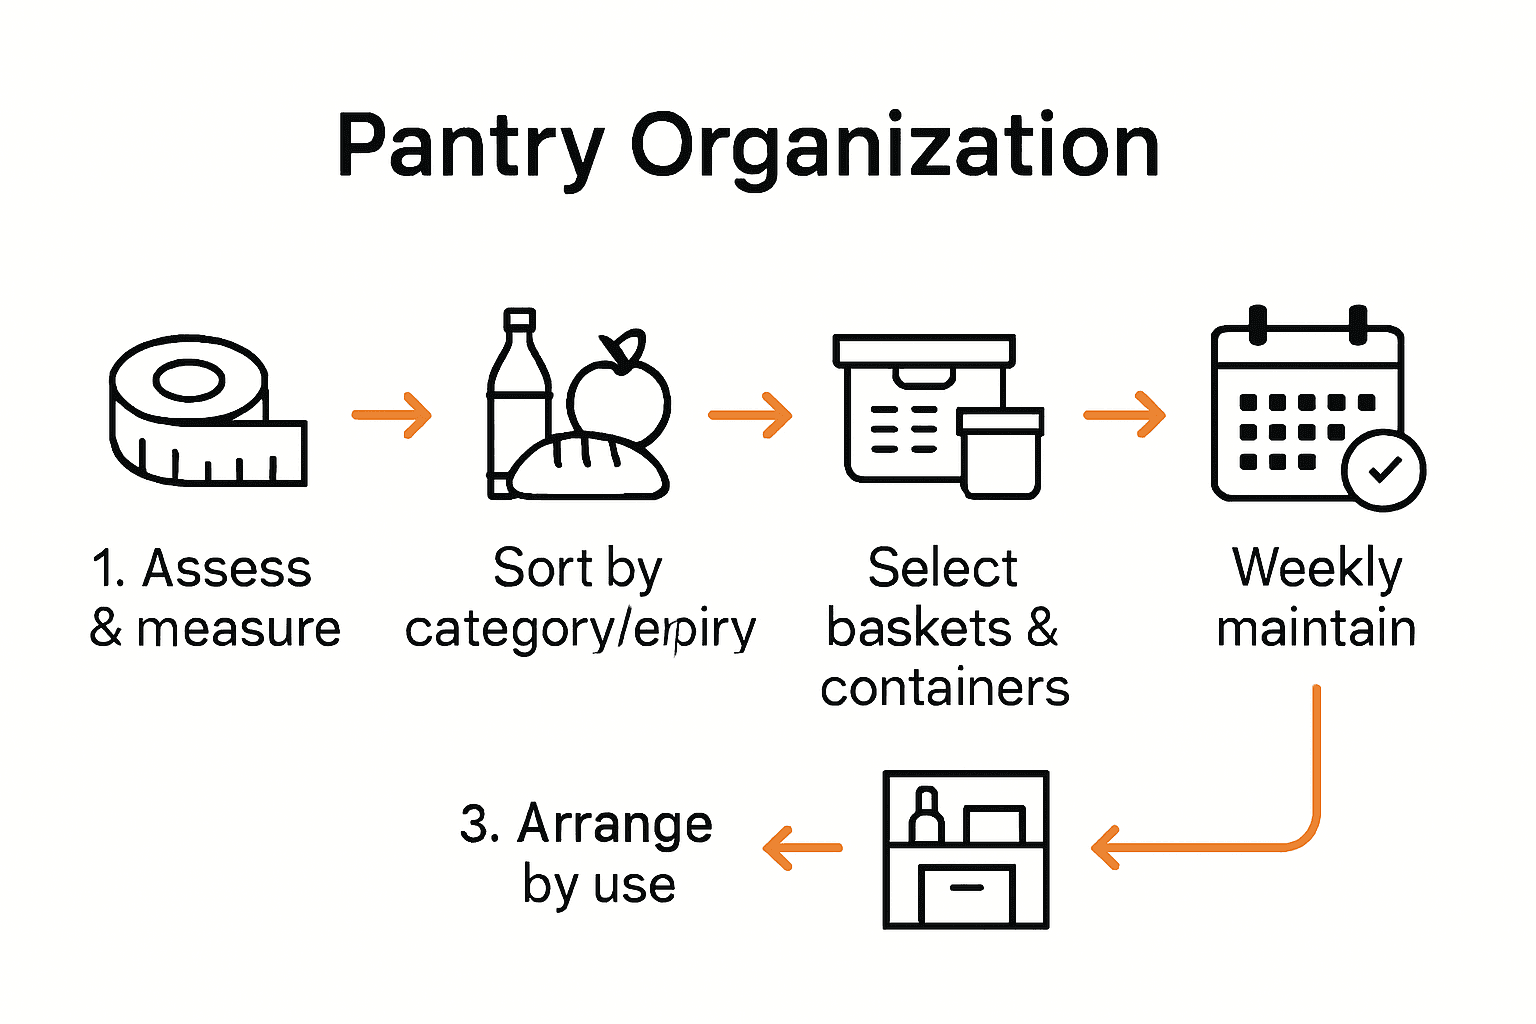
- Step 1: Assess Pantry Contents And Measure Shelves
- Step 2: Sort Food Items By Category And Expiry Date
- Step 3: Select Baskets And Labeled Containers
- Step 4: Arrange Baskets By Use And Accessibility
- Step 5: Verify Organization And Maintain Order Weekly
Quick Summary
| Key Point | Explanation |
|---|---|
| 1. Conduct a thorough inventory | Empty your pantry, sort items, and document what you have for effective organization and meal planning. |
| 2. Sort by category and expiry | Organize food items according to their category and expiration dates to minimize waste and ensure quality consumption. |
| 3. Choose appropriate storage solutions | Use labeled baskets and clear containers to enhance visibility and accessibility of pantry items. |
| 4. Arrange items for easy access | Position frequently used items at eye level or on lower shelves for quick access during cooking. |
| 5. Maintain organization weekly | Dedicate time weekly for quick checks to update inventory and ensure items are in their designated spots. |
Step 1: Assess Pantry Contents and Measure Shelves
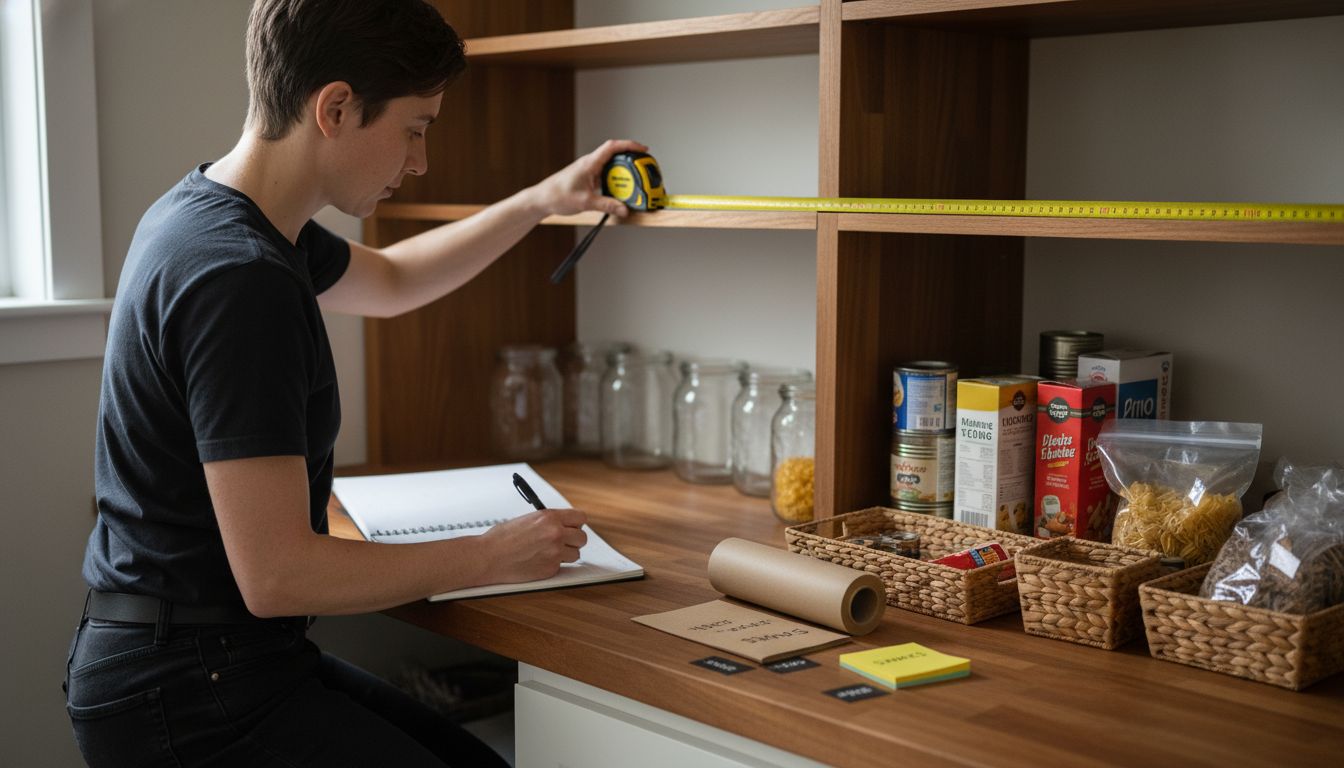
The first step to creating an organized pantry is a comprehensive assessment of your current space and inventory. This critical phase will help you understand exactly what you have and how much storage you need. According to Keeper of the Home, setting aside dedicated time to clean out and document your food items is essential for effective organization.
Begin by completely emptying your pantry shelves one section at a time. Sort items into clear categories proteins, grains, canned goods, baking supplies, and snacks. Check expiration dates and discard anything expired or stale. As you sort, use a measuring tape to record precise shelf dimensions width, depth, and height which will be crucial when selecting storage baskets and containers. Pro tip: Take photos of your empty shelves to reference later when planning your organization strategy.
While measuring and sorting, create an inventory sheet that tracks what you currently have. This not only helps with organization but also assists in meal planning and preventing unnecessary purchases. Grab a notebook or digital spreadsheet and list out each item category along with quantities. This systematic approach transforms a potentially overwhelming task into a manageable project and sets the foundation for a clutter free pantry transformation. By understanding your current inventory and shelf space, youre ready to move on to selecting the perfect storage solutions that will maximize your pantry efficiency.
[Learn more about kitchen organization in our kitchen storage ideas guide], which offers additional insights into creating a streamlined cooking space.
Step 2: Sort Food Items by Category and Expiry Date
Now that you have emptied your pantry shelves, the next crucial step is sorting your food items systematically by category and expiration date. According to IFANCA, understanding food labels is key to effective organization and minimizing waste. This process will help you create a clear inventory and ensure youre using products at their peak quality.
Start by creating distinct category groups grains, canned goods, baking supplies, snacks, and proteins. Within each category, carefully examine the packaging labels. As Food Inspector highlights, pay special attention to different date labels like use by, best if used by, and sell by dates. These indicators help you prioritize which items to consume first. Group items with similar expiration dates together and place those closest to expiring at the front of your storage containers or shelves. This rotation method prevents food waste and ensures youre using older products before they spoil.
A helpful pro tip is to use removable labels or markers to quickly note the opened date on items like flour, nuts, or spices that might have longer shelf lives after opening. This extra step helps you track freshness beyond the printed expiration date. By meticulously sorting your pantry contents, youve transformed a potentially chaotic space into an organized system that saves money and reduces food waste. Your next step will be selecting the right storage containers to maintain this newfound order.
Explore more kitchen organization strategies in our [kitchen storage ideas guide].
Step 3: Select Baskets and Labeled Containers
With your pantry contents sorted and categorized, its time to choose storage solutions that will transform your space into an organized haven. According to MABSOP, strategic use of labeled baskets and containers can dramatically improve kitchen accessibility and efficiency. The right storage approach will not just organize your pantry but make meal preparation smoother and more intuitive.
Select clear or wire mesh baskets that match your shelf dimensions and provide visibility to your items. Lifehack recommends utilizing baskets inside cabinets to maximize space and keep supplies easily accessible. Choose containers with uniform sizes that stack well. For dry goods like flour, rice, and pasta, opt for airtight containers with secure lids to maintain freshness. Create labels for each basket or container using a label maker or waterproof markers specifying contents and expiration dates. This system helps everyone in the household quickly find and return items to their designated spots.
A pro tip is to select containers with slightly different colors or patterns for each food category proteins, grains, baking supplies to create a visual sorting system. This makes identification even faster and adds a touch of aesthetic organization to your pantry. By thoughtfully selecting storage solutions, youve turned a cluttered space into an efficient kitchen command center. Your next step involves strategically arranging these newly labeled containers for maximum accessibility and visual appeal.
[Learn more about organizing with baskets in our organizing with baskets guide].
Step 4: Arrange Baskets by Use and Accessibility
With your pantry contents sorted and baskets selected, its time to strategically arrange everything for maximum efficiency. According to MABSOP, organizing kitchen items by frequency of use can dramatically improve accessibility and kitchen functionality. This approach ensures that the items you need most are always within easy reach.
Lifehack recommends a systematic approach to pantry arrangement. Place frequently used items like breakfast staples, cooking oils, and everyday snacks on lower shelves or at eye level for quick and easy access. Reserve higher shelves for seasonal items, backup supplies, or ingredients you use less often. Group similar items together create a baking zone with flour, sugar, and baking powder or a breakfast section with cereals, oatmeal, and coffee. Consider the natural flow of your cooking process when positioning items so that everything you need for a particular meal or recipe is within arm’s reach.
A pro tip is to create a small zone near the pantry entrance for grab and go items perfect for quick snacks or lunch packing. This saves time during busy mornings and helps maintain overall organization. By thoughtfully arranging your baskets and containers, youve transformed your pantry from a chaotic storage space into a functional and efficient kitchen command center. Your next step involves maintaining this system and making small adjustments as your cooking habits evolve.
[Discover more smart organization strategies in our DIY organization ideas guide].
Step 5: Verify Organization and Maintain Order Weekly
Now that youve created a beautifully organized pantry, the key to long-term success is consistent maintenance. Keeper of the Home emphasizes the importance of periodic pantry inventories to prevent food waste and keep your organization system running smoothly. Think of this weekly check-in as a quick tune-up for your kitchen’s most hardworking storage space.
Set aside 15 minutes each week typically on a quiet weekend morning or Sunday evening to review your pantry contents. Start by quickly scanning your labeled baskets and containers. Check for any items approaching expiration and move them to the front of their respective zones. Remove any empty containers or packages and update your inventory labels if needed. Look for signs of potential organization drift items that might have been returned to the wrong basket or shelves that are starting to look cluttered. This quick weekly sweep prevents small disorganization from becoming a major pantry overhaul project.
A pro tip is to keep a small notepad or digital note on your phone during the week to jot down any organization observations. Maybe you realized a certain basket arrangement isnt working or you need a different size container for a specific ingredient. These real-time insights will help you continuously refine your pantry system. By dedicating just a few minutes each week to maintenance, youll ensure your meticulously organized pantry remains a functional and stress-free zone. Your future self will thank you every time you effortlessly find exactly what you need while cooking.
Learn more about smart home organization techniques in our [DIY organization ideas guide].
Transform Your Pantry Into a Stress-Free Zone with the Right Storage Solutions
Struggling with cluttered pantry shelves and lost food items is a common frustration. The article highlights how sorting by category, measuring shelf space, and selecting labeled baskets can make your kitchen feel calm and efficient again. If you want to turn your pantry into a beautifully organized space that saves you time and reduces waste, the key is choosing products designed to fit your unique home needs.

Explore our durable and stylish storage baskets and containers at BLUSHBEES USA. Whether you need versatile options for your pantry or want to bring order to other rooms like your bedroom with our Bedroom Storage collection, we have solutions that combine quality and space-saving design. Don’t wait to reclaim your kitchen’s potential. Visit https://blushbees.us now and start your journey to a clutter-free home that feels relaxing and inspiring every day.
Frequently Asked Questions
How can I assess the contents of my pantry effectively?
Start by emptying your pantry one section at a time, sorting items into categories like proteins, grains, and snacks. Carefully record shelf dimensions and create an inventory sheet to track what you have, ensuring you have a clear understanding of your storage needs.
What is the best way to organize food items by expiration date?
Sort your food items by category first, then group them according to their expiration dates. Place items with the nearest expiration dates at the front of your shelves to ensure you use them first, reducing food waste and maintaining freshness.
What types of baskets and containers should I use for pantry organization?
Choose clear or wire mesh baskets for visibility and uniform-sized containers that can stack well. Opt for airtight containers for dry goods to preserve freshness, and make sure to label each item with its contents and expiration date for easy identification.
How should I arrange my baskets for maximum accessibility in the pantry?
Arrange baskets and containers based on how frequently you use those items; keep everyday essentials at eye level and less frequently used items on higher shelves. Consider grouping similar categories together to make it easier to find what you need quickly while cooking.
How often should I maintain my pantry organization?
Aim for a weekly maintenance check of about 15 minutes to scan your pantry contents. During this time, update inventory labels, check for near-expiration items, and reorganize any items that have drifted out of place to keep your pantry clutter-free and functional.
What should I do if my pantry organization starts to feel chaotic again?
If you notice clutter creeping in, take a moment to reassess your current organization system. Adjust your storage solutions or container sizes as needed, and consider implementing a reminder for your weekly maintenance to stay on top of the organization.
Recommended
- 10 Home Organization Tips for a More Tidy and Efficient Living Space – BLUSHBEES USA
- Organizing With Baskets: Transform Your Space Step-by-Step – BLUSHBEES USA
- How to Organize Pantry: Stylish Solutions for 2025 – BLUSHBEES USA
- Top Kitchen Storage Ideas for Stylish & Organized Homes 2025 – BLUSHBEES USA

