
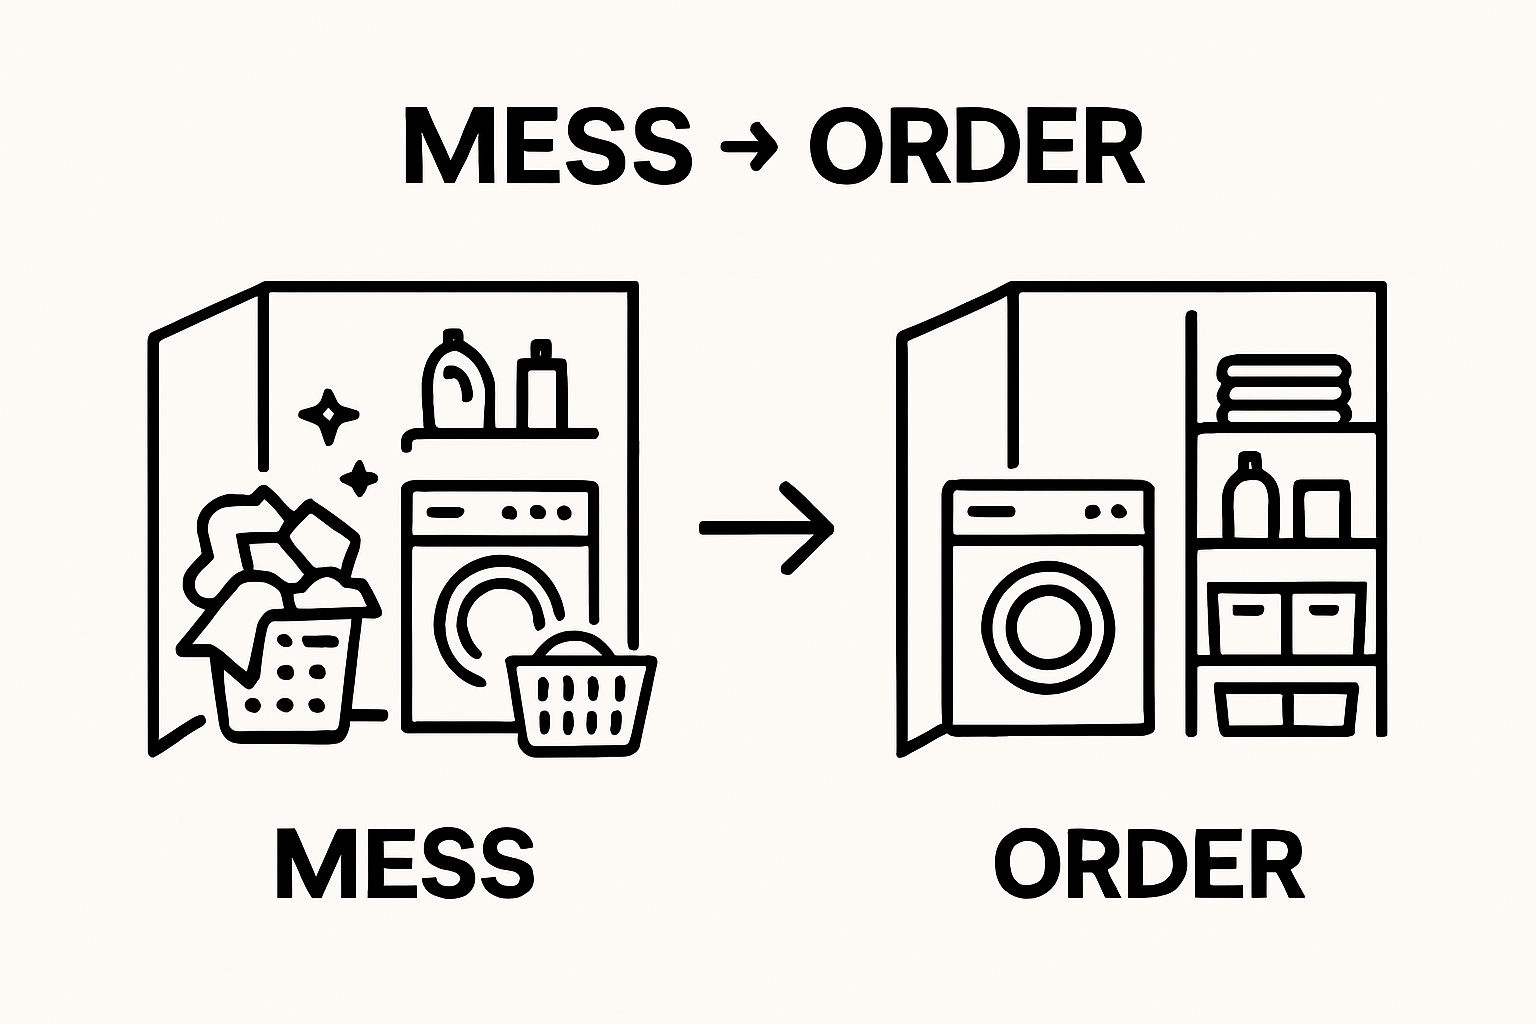
Laundry rooms are supposed to make life easier, but too often they turn into clutter traps where socks vanish and cleaning supplies pile up.
Most people just stack more baskets or squeeze in another shelf, hoping for a miracle. Surprisingly, simply measuring your space and documenting the actual layout can be the move that unlocks a laundry room’s hidden potential. That first step might sound boring, but it is the difference between accidental chaos and an organized system you do not have to think about.
Table of Contents
- Step 1: Assess Your Current Laundry Space
- Step 2: Declutter Unneeded Items
- Step 3: Choose Smart Storage Solutions
- Step 4: Implement A Functional Layout
- Step 5: Organize Laundry Supplies By Category
- Step 6: Perform A Final Review For Maximum Efficiency
Quick Summary
| Key Point | Explanation |
|---|---|
| 1. Assess your laundry space layout | Measure dimensions and workflow to identify organization challenges. Recognize obstacles like doors and utility connections early in the process. |
| 2. Declutter unnecessary items | Remove items not used in the last year to create space. Focus on keeping only what is essential for an efficient laundry routine. |
| 3. Use smart storage solutions | Implement vertical storage and multifunctional containers to maximize space. Ensure items are accessible and well-organized, enhancing usability. |
| 4. Create logical zones for tasks | Designate areas for sorting, washing, drying, and folding. An intuitive flow reduces unnecessary movement and helps streamline your laundry tasks. |
| 5. Review for maximum efficiency | Simulate your laundry process to evaluate layout and accessibility. Make adjustments based on practical functionality and ease of use. |
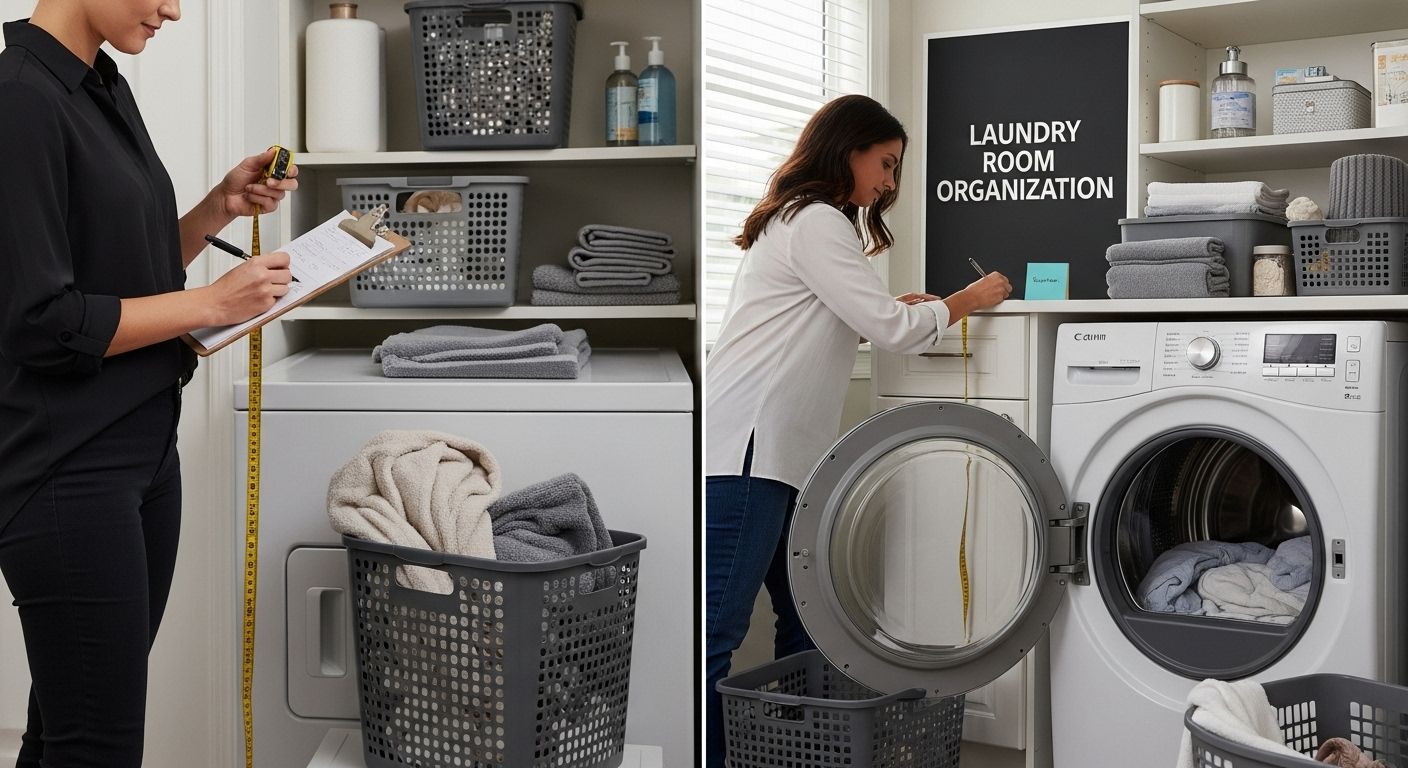
Step 1: Assess Your Current Laundry Space
Laundry room organization begins with a comprehensive assessment of your current space. This critical first step transforms a chaotic laundry area into a streamlined, efficient zone that simplifies your household routine. Before purchasing storage solutions or reorganizing, you need to understand your existing layout, workflow, and unique challenges.
Start by taking a detailed inventory of your current laundry space. Grab a tape measure and notebook to document precise measurements and observations. Measure the total room dimensions, noting wall lengths, ceiling height, and available floor space. Identify potential obstacles like doors, windows, utility connections, and existing built in features that might impact your organizational strategy. Pay special attention to electrical and water connections for your washer and dryer, as these will anchor your primary work zone.
Next, scrutinize your current storage situation. How many shelves do you have? Are they efficiently positioned? Do you struggle with cluttered countertops or overflowing laundry baskets? Take photographs from multiple angles to help you visualize potential improvements. Explore our comprehensive guide on home organization for additional insights into transforming chaotic spaces.
Carefully evaluate your typical laundry workflow. Track the journey of clothes from hamper to washer, dryer, folding area, and final storage. Identify bottlenecks or awkward transitions that create frustration. A well-designed laundry space should feel intuitive, with logical progression between tasks. Consider the ergonomics of your current setup analyze whether you’re bending, reaching, or navigating inconvenient spaces too frequently.
Finally, list your specific laundry needs. Do you handle delicate items requiring special care? Do you need space for air drying? Are there seasonal items like winter gear or sports uniforms that require unique storage solutions? Understanding these nuanced requirements will guide your organizational strategy, ensuring your redesigned space is not just tidy, but truly functional for your household’s unique demands.
Step 2: Declutter Unneeded Items
Decluttering transforms your laundry room from a chaotic storage zone into an efficient workspace. This critical step eliminates unnecessary items that consume valuable space and create visual and functional barriers to smooth laundry operations. The goal is simple: keep only what you truly need and use regularly.
Begin by removing everything from shelves, cabinets, and countertops. Create three distinct sorting piles: keep, donate, and discard. Be ruthless in your assessment. Old cleaning supplies with minimal product remaining, worn out rags, single socks without matches, and outdated laundry tools all qualify for immediate removal. Learn more about stylish home organization strategies to refine your approach.
Carefully examine each item through a practical lens. Do you actually use this item in the last six months? Is it functional, or merely taking up space? Broken hangers, expired stain removers, mismatched storage containers these are prime candidates for elimination. Consider the one year rule: if you haven’t used an item in twelve months, it likely does not belong in your active laundry space.
For items you decide to keep, group them strategically. Cleaning supplies should be consolidated, with duplicates combined or discarded. Specialty laundry tools like fabric shavers, delicate mesh bags, and garment care kits deserve a dedicated, organized space. Seasonal items such as winter gear wash bags or specialized fabric treatments can be stored in less accessible areas to free up primary storage zones.
The donation pile offers an opportunity to support your community. Gently used towels can go to animal shelters, while functional but excess storage containers might benefit local charity shops. For items requiring disposal, check local guidelines about proper disposal of cleaning chemicals and textile recycling options. Your thorough decluttering not only streamlines your laundry room but contributes to responsible resource management.
Step 3: Choose Smart Storage Solutions
Smart storage solutions transform your laundry room from a cluttered space into an organized, efficient workflow hub. The right storage strategy maximizes every square inch while keeping essential items accessible and visually appealing. Your goal is to create a system that works intuitively with your daily laundry routine.
Vertical storage becomes your secret weapon in compact laundry spaces. Install adjustable shelving units that reach toward the ceiling, utilizing often overlooked overhead space. Open shelving allows quick visual access to supplies, while closed cabinets can hide less attractive items like cleaning chemicals and bulk detergent. Explore innovative home organization techniques to refine your approach and maximize functionality.
Invest in multi functional storage containers that serve multiple purposes. Rolling utility carts can slide between washer and dryer, providing mobile storage for sorting, stain treatment, and folding supplies. Clear plastic bins with labeled sections help segregate items like delicates, workout gear, and seasonal clothing. Choose containers with tight sealing lids to protect contents from dust and moisture, ensuring your textiles remain fresh between uses.
Consider ergonomic solutions that reduce physical strain during laundry tasks. Wall mounted drying racks that fold flat when not in use provide flexible hanging space without permanently occupying floor area. Pull out hampers integrated into cabinetry keep dirty laundry concealed while maintaining a clean visual aesthetic. Magnetic strips on walls can hold metal tools like scissors, measuring cups, and stain removal pens, keeping them within immediate reach but off valuable counter surfaces.
Your final storage assessment should prioritize accessibility, visibility, and ease of maintenance. Group similar items together create dedicated zones for different laundry functions. A well designed storage system should feel intuitive reducing the mental load of weekly laundry responsibilities. Remember that the most effective storage solution is one you will consistently use and maintain.
Step 4: Implement a Functional Layout
Creating a functional laundry room layout transforms your space from a chaotic utility area into an efficient workflow center. The key is designing a logical progression that minimizes unnecessary movement and maximizes productivity. Think of your laundry room as a professional workspace where each element serves a strategic purpose.
Begin by establishing clear zones for different laundry activities. Position your washer and dryer as the central anchor, then create surrounding areas for sorting, treating stains, folding, and storing clean clothes. Proximity matters dramatically. Place a small countertop or folding station immediately adjacent to your dryer, allowing you to transfer and fold clothes without walking across the room. Explore our comprehensive guide to space optimization for additional layout insights.
Consider the natural flow of laundry processing. Start with a hamper or sorting station near the entrance, allowing you to immediately separate whites, darks, and delicates. Position your stain treatment area close to the washer, with necessary supplies within arm’s reach. Install a hanging rod or wall mounted drying rack near the washer for items requiring air drying, creating a seamless transition between wet and dry processes.
Ergonomics play a crucial role in your layout design. Ensure your most frequently used items are stored between knee and shoulder height. This reduces unnecessary bending and reaching, making laundry tasks less physically taxing. Rolling utility carts can provide mobile storage that moves with you, while wall mounted shelves keep floor space clear and maintain an open, breathable environment.
Your final layout assessment should prioritize three key elements: accessibility, efficiency, and comfort. Walk through your planned arrangement and simulate your typical laundry routine. Does each movement feel natural? Can you complete tasks without constant backtracking? A well designed laundry room layout should feel intuitive, transforming a mundane chore into a streamlined, almost enjoyable process.
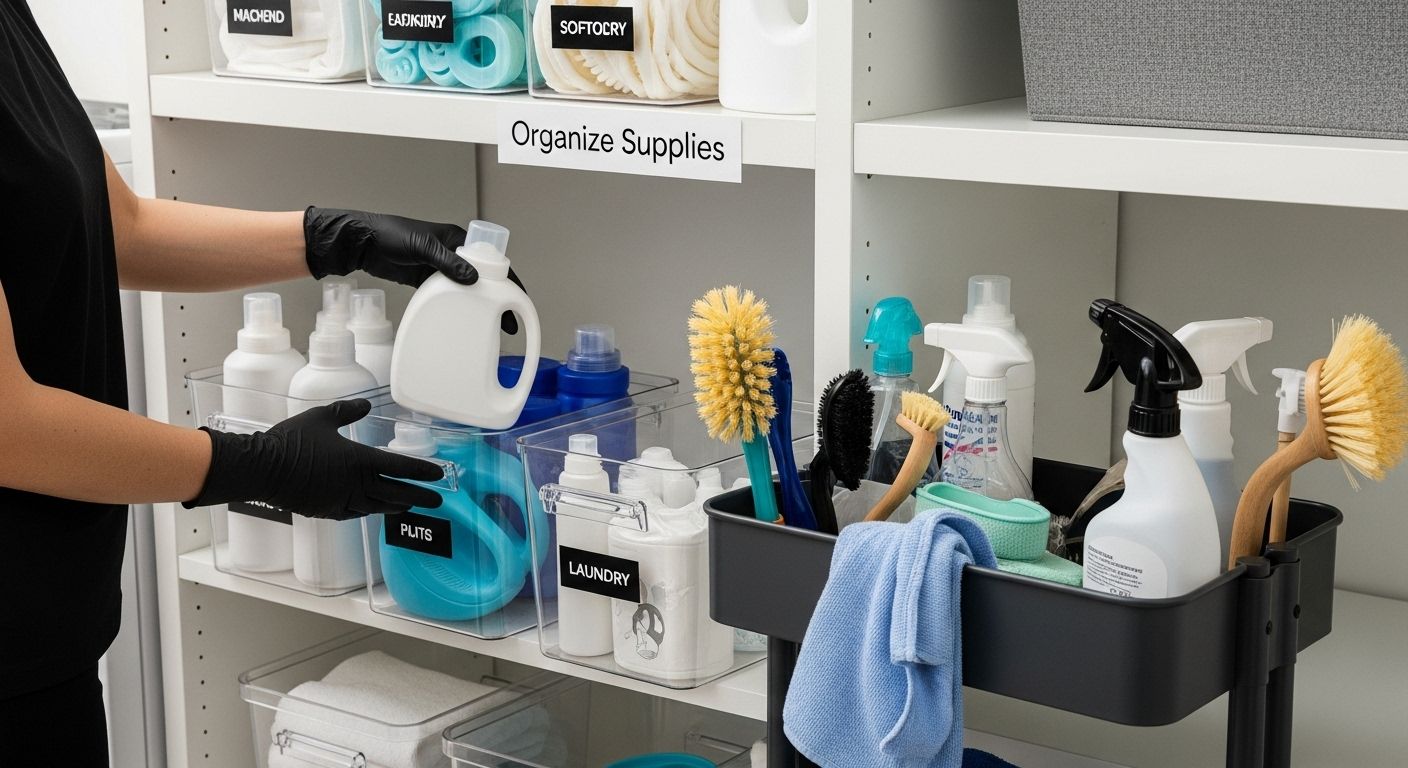
Step 5: Organize Laundry Supplies by Category
Categorizing your laundry supplies transforms a chaotic collection of cleaning products into a streamlined, efficient system. The goal is to create an intuitive organizational approach that saves time and reduces stress during laundry tasks. By grouping similar items together, you create a logical storage strategy that makes every cleaning session smoother and more purposeful.
Begin by gathering all laundry related supplies from throughout your home. Sort them into broad categories: stain removal products, detergents, fabric softeners, specialized cleaning agents, and accessories like mesh bags and dryer sheets. Check out our comprehensive guide to smart cleaning supply storage for additional organizational insights.
Develop a color coded or clearly labeled storage system that eliminates guesswork. Use transparent containers with secure lids to protect products from moisture and potential spills. Arrange items based on frequency of use, placing most used supplies at eye level or in the most accessible locations. Specialized products like wool wash, delicate fabric cleaners, and bleach alternatives deserve their own designated zones, preventing accidental misuse and cross contamination.
Consider creating separate storage solutions for different types of laundry care. One container might house everyday laundry essentials, while another stores seasonal or specialized cleaning products. Invest in storage solutions with adjustable compartments that can adapt as your laundry needs change. Magnetic strips on cabinet doors can hold small metal items like measuring spoons, while pull out drawers keep less frequently used supplies neatly contained but easily accessible.
Your final organization should feel intuitive and user friendly. Walk through your new system and ensure that anyone in the household could quickly locate and use the necessary supplies. A well categorized laundry supply collection not only looks neat but dramatically reduces the mental energy required to complete this routine household task. The ultimate test is whether your new system makes laundry feel less like a chore and more like a smooth, manageable process.
Step 6: Perform a Final Review for Maximum Efficiency
The final review transforms your meticulously organized laundry room from a good system to an exceptional workflow. This critical step ensures every element works harmoniously, creating an environment that saves time, reduces stress, and maximizes your space’s potential. Think of this review as a performance audit for your laundry room’s operational excellence.
Begin by simulating your complete laundry process from start to finish. Walk through each zone you’ve created, testing the accessibility and logic of your layout. Are your most frequently used supplies within easy reach? Can you move seamlessly between sorting, washing, drying, and folding without unnecessary steps? Discover additional strategies for home organization efficiency to refine your approach.
Evaluate your storage solutions with a critical eye. Test each container, shelf, and organizational system for practical functionality. Open and close drawers, assess the stability of shelving, and ensure that labels remain clear and legible. Check that your vertical storage doesn’t impede movement and that hanging rods and drying racks can support the weight of wet garments without strain. Consider the ergonomics of your space subtle adjustments can significantly reduce physical fatigue during laundry tasks.
Perform a systematic inventory of your supplies, checking expiration dates on cleaning products and ensuring you have adequate stock of essential items. Examine your equipment for signs of wear or potential maintenance needs. Clean lint traps, wipe down surfaces, and verify that electrical connections remain secure. Your goal is to create a proactive maintenance routine that prevents future disruptions and extends the life of both your equipment and organizational system.
Ultimately, the success of your laundry room organization is measured by its daily usability. Ask family members for feedback, observing how intuitively they can navigate the space. A truly efficient laundry room should feel almost invisible transforming a potentially stressful chore into a smooth, almost effortless process that supports your household’s daily rhythm.
Below is a practical checklist to help you conduct a thorough final review of your newly organized laundry room. Use this to ensure your space is efficient, accessible, and easy to maintain for everyday use.
| Review Item | What to Check | Status (Yes/No) |
|---|---|---|
| Supply Accessibility | Supplies are within reach of key work zones | |
| Storage Solutions Functionality | Containers, shelves, and labels are easy to use | |
| Workflow Efficiency | Movement flows logically between each task | |
| Ergonomics | Most-used items are at a comfortable height | |
| Maintenance Needs | Equipment and surfaces are clean and maintained | |
| Stock of Essentials | Adequate detergent and supplies are available | |
| Family Usability | Other household members can easily navigate |
Transform Laundry Hassles Into Simple Routines With Smart Storage
Struggling with laundry room chaos and overwhelmed by cluttered supplies? This article shows you just how simple and impactful a systematic approach can be. Imagine beautifully organized shelves, categorized laundry essentials, and clutter-free space that streamlines your daily routine. At BLUSHBEES USA, we turn these ideas into easy solutions with stylish and practical storage options built for real homes.

Ready to clear the clutter and create a laundry space you love? Discover our collection of durable bins, baskets, and storage boxes in the Bedroom Storage section that can be easily adapted for laundry organization. Each piece is designed to help you maintain efficiency, eliminate frustration, and bring order so you have more time for what really matters. Visit BLUSHBEES USA now to shop limited-time offers and start transforming your laundry room today. These deals are perfect for anyone serious about achieving effortless home organization.
Frequently Asked Questions
How can I assess the current layout of my laundry room?
Start by taking precise measurements of the room’s dimensions, noting wall lengths, ceiling height, and available floor space. Identify obstacles such as doors and utility connections and evaluate your existing storage situation and typical laundry workflow.
What are effective strategies for decluttering my laundry room?
Begin by removing all items from shelves, cabinets, and countertops. Sort them into three piles: keep, donate, and discard. Be mindful to remove expired items, single socks, and outdated tools, and adopt the one-year rule to determine what to keep.
How can I choose smart storage solutions for my laundry room?
Utilize vertical storage by installing adjustable shelving that reaches toward the ceiling. Invest in multi-functional containers, such as rolling utility carts and clear plastic bins. Consider ergonomic solutions that reduce physical strain, like wall-mounted drying racks and pull-out hampers.
What layout should I implement for maximum efficiency in my laundry room?
Create clear zones for different laundry activities by positioning your washer and dryer as the central anchor. Arrange areas for sorting, treating stains, and folding clothes, ensuring that frequently used items are easily accessible and placed at shoulder height to minimize bending and reaching.

