
Kitchen open shelving has become the designer’s choice for modern homes and it is not just about showing off fancy dishware. Over 60 percent of homeowners say open shelves make them rethink how they organize and use kitchen space. Yet the most surprising part is how a few well-placed shelves can actually make a cramped kitchen feel twice as large and more useful. So what is the secret behind this shift to open storage? The answer flips the old pantry mindset on its head.
Table of Contents
- Step 1: Assess Your Kitchen Space And Needs
- Step 2: Select The Right Shelving Options
- Step 3: Clear And Prepare Your Existing Cabinetry
- Step 4: Install Open Shelving Securely
- Step 5: Organize And Style Your Open Shelves
- Step 6: Evaluate And Adjust Your Display For Functionality
Quick Summary
| Key Point | Explanation |
|---|---|
| 1. Assess your kitchen layout carefully | Measure available wall spaces and identify underutilized areas for potential shelving solutions. |
| 2. Choose the right shelving materials | Select shelves based on durability, weight capacity, and aesthetic compatibility with your kitchen. |
| 3. Thoroughly declutter existing cabinetry | Empty your cabinets and categorize items into keep, donate, or discard to create a clean slate. |
| 4. Install shelves securely with precision | Use proper mounting techniques and tools to ensure stability and safety of the shelves. |
| 5. Regularly evaluate and adjust displays | Observe your shelving usage and reorganize periodically for optimal functionality and style. |
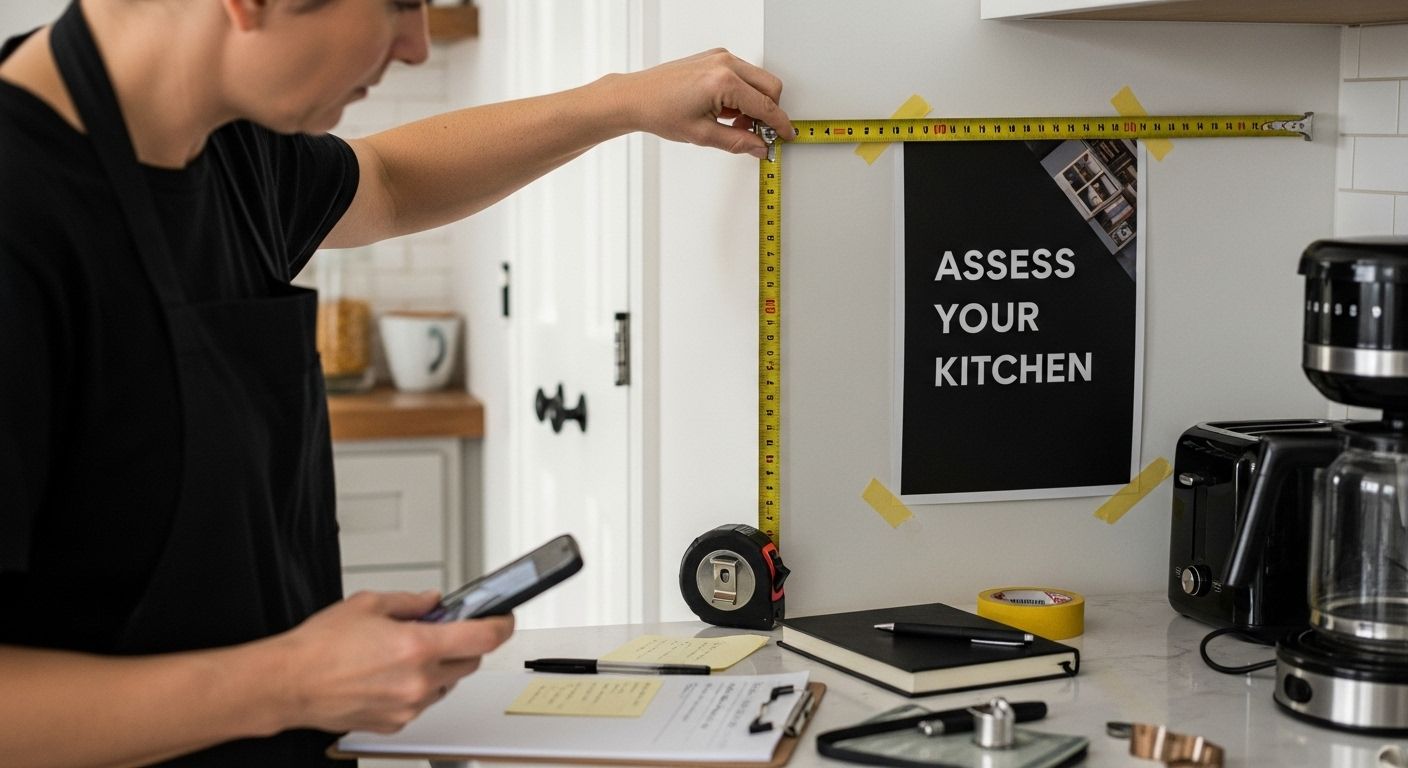
Step 1: Assess Your Kitchen Space and Needs
Before diving into kitchen open shelving, understanding your specific kitchen layout and storage requirements is crucial. A strategic assessment will transform how you approach shelving design and maximize your kitchen’s potential. Begin by walking through your kitchen with a critical eye, measuring available wall spaces and considering current storage challenges.
Evaluating Your Kitchen’s Unique Layout
Start by taking precise measurements of your kitchen walls. Use a metal tape measure to record exact dimensions, noting areas near cooking zones, sink areas, and potential shelving locations. Pay special attention to wall sections that are currently underutilized or awkward. Some kitchens have unexpected nooks or corner spaces that can become excellent open shelving opportunities. Take photos of these areas to help visualize potential configurations.
Consider your kitchen’s functional workflow when planning open shelving. Different kitchen styles require different storage solutions. A compact urban apartment kitchen will need a different approach compared to a spacious suburban kitchen. Key factors to examine include:
- Cooking frequency and types of meals prepared
- Number of household members
- Existing cabinet and pantry storage capacity
- Frequency of entertaining or hosting guests
Strategic Planning for Open Shelving Needs
Once you have comprehensive measurements and workflow insights, start mapping out potential shelving locations. Look for wall spaces that can accommodate shelves without disrupting kitchen traffic or interfering with appliance functionality. Consider weight capacity, material durability, and aesthetic harmony with your existing kitchen design. Learn more about maximizing kitchen organization to complement your open shelving strategy.
Successful kitchen open shelving begins with meticulous planning. By thoroughly assessing your space and understanding your unique needs, you’ll create a storage solution that is both beautiful and highly functional.
Step 2: Select the Right Shelving Options
Choosing the perfect shelving for your kitchen is more than just a design decision it’s about creating a functional and visually appealing storage solution. The right shelves can transform your kitchen from cluttered to elegant, offering both practical utility and aesthetic charm. Your selection will depend on multiple factors including material durability, weight capacity, and how seamlessly they integrate with your existing kitchen decor.
Understanding Shelving Material Considerations
When exploring kitchen open shelving options, material selection becomes critical. Wood shelves provide warmth and traditional appeal wooden options like oak, maple, or reclaimed barn wood can create stunning visual interest. Metal shelves offer a more modern industrial look and often provide superior durability. Tempered glass shelves present a sleek minimalist approach perfect for contemporary kitchens. Consider these material characteristics carefully: weight bearing capacity, moisture resistance, ease of cleaning, and how they complement your kitchen’s existing color palette.
Practical Selection Strategies
Beyond aesthetic appeal, functionality remains paramount. Measure your wall spaces precisely and factor in the weight of items you plan to store. Heavy ceramic dishes require sturdier mounting systems compared to lightweight glassware. Consider adjustable bracket systems that allow future reconfiguration as your storage needs evolve. Discover innovative shelving organization techniques to maximize your kitchen storage potential.
Key factors to evaluate include shelf depth shelf length mounting hardware and visual harmony with existing kitchen elements. Deeper shelves work well for storing larger items while shorter shelves create visual breathing room. Remember that open shelving is as much about displaying your kitchenware as it is about storage. Choose options that showcase your personal style while meeting practical storage requirements.
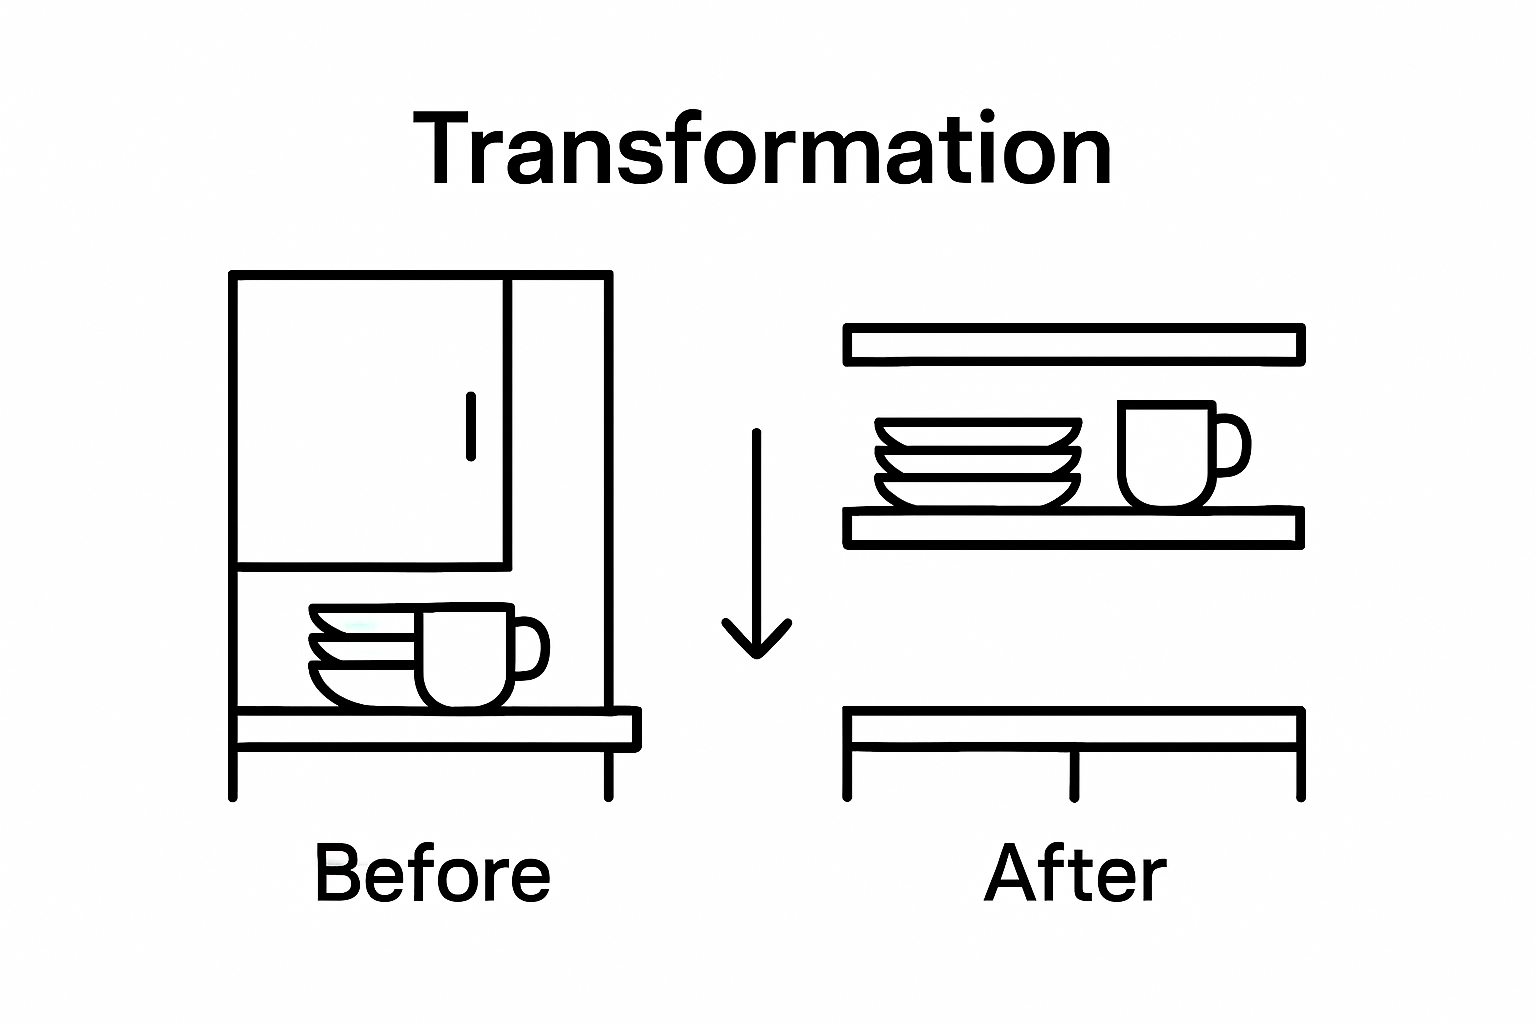
Step 3: Clear and Prepare Your Existing Cabinetry
Preparing your existing cabinetry is a critical foundation for successful kitchen open shelving installation. This step involves systematically decluttering, cleaning, and organizing your current storage spaces to create a smooth transition to your new shelving design. Think of this process as creating a clean slate that will showcase your kitchenware and streamline your kitchen’s functionality.
Strategic Decluttering and Organization
Begin by completely emptying your kitchen cabinets. This might seem overwhelming, but a thorough approach ensures you understand exactly what you own and what truly deserves a place in your newly designed space. Sort your kitchenware into clear categories: keep, donate, and discard. Be ruthless in this process. Many people accumulate kitchen items over years kitchen gadgets with single purposes duplicate utensils and rarely used specialty cookware. Ruthless editing is key to creating an organized kitchen.
As you sort, consider the practical aspects of each item. Cookware and dishes you use weekly should be easily accessible. Seasonal or rarely used items can be stored in less prime locations. Take this opportunity to assess your current kitchen workflow. Are there items you never use? Duplicates that can be eliminated? The goal is to create a streamlined collection of kitchenware that is both functional and aesthetically pleasing.
Cleaning and Preparation Techniques
Once you’ve sorted your items, thoroughly clean the empty cabinet spaces. Use a gentle all-purpose cleaner and microfiber cloth to remove years of accumulated grime, dust, and potential food residue. Pay special attention to corners and hard-to-reach areas. For wooden cabinets, consider using a wood-specific cleaner that nourishes the material while removing dirt. Check out our comprehensive guide on kitchen cabinet organization for additional insights into maintaining a pristine kitchen storage system.
Finally, measure and mark the areas where you plan to install open shelving. This preparation stage sets the foundation for a seamless transition. By carefully clearing, cleaning, and organizing your existing cabinetry, you create an optimal environment for your new kitchen open shelving solution.
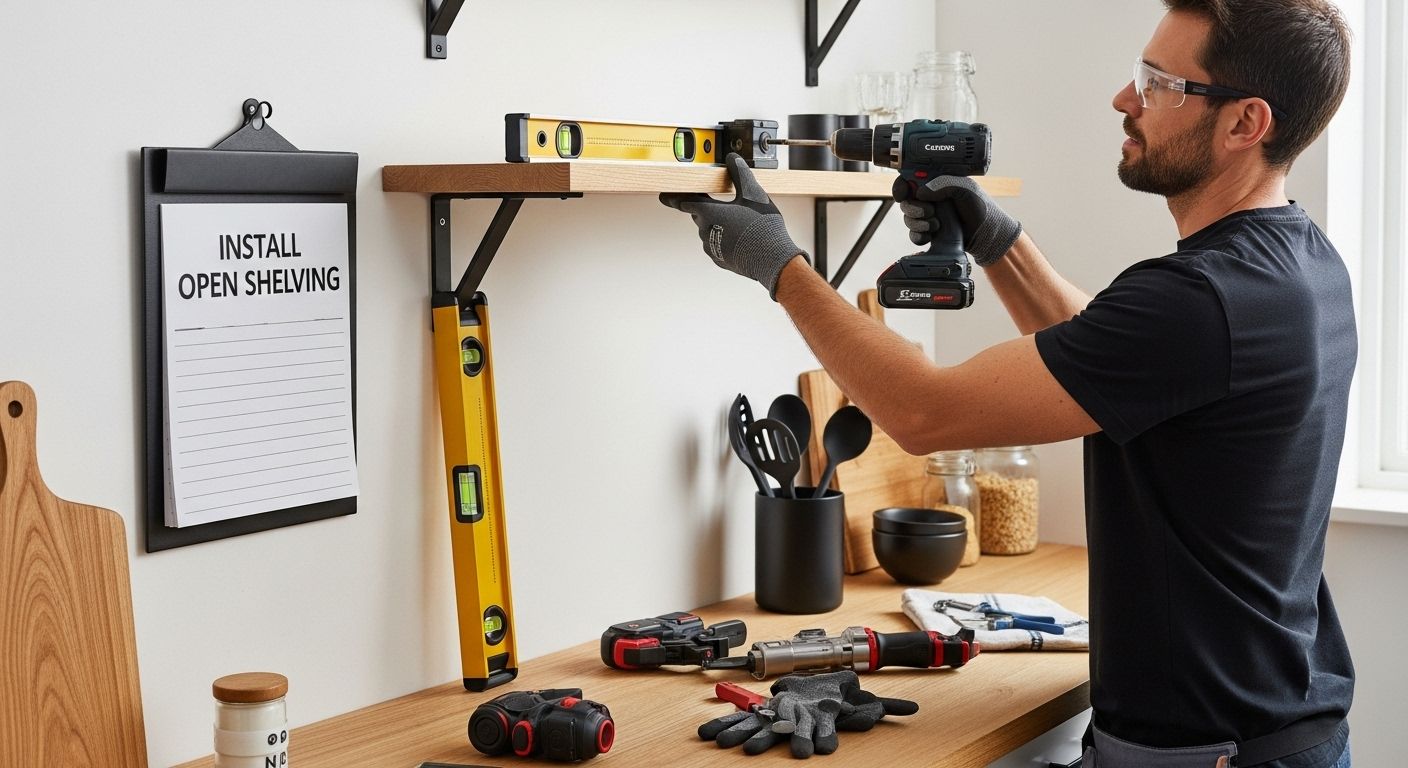
Step 4: Install Open Shelving Securely
Installing open shelving requires precision patience and the right approach to ensure both safety and aesthetic appeal. This critical step transforms your kitchen design from concept to reality requiring careful attention to detail and proper mounting techniques. The goal is creating shelves that not only look beautiful but remain rock solid under the weight of your kitchenware.
Gathering Essential Installation Tools
Before beginning installation prepare a comprehensive toolkit that will make your project smooth and efficient. Essential tools include:
- Stud finder
- Electric drill
- Level
- Pencil
- Measuring tape
- Wall anchors
- Mounting brackets
- Screwdriver
- Safety glasses
Begin by locating wall studs using a reliable stud finder. Mounting shelves directly into studs provides maximum stability and weight bearing capacity. If studs are not available in your preferred location use high quality wall anchors designed to support significant weight. Measure multiple times and mark mounting points precisely to prevent unnecessary wall damage.
Refer to this table for a concise checklist of essential tools and their primary purposes, ensuring smooth and safe open shelving installation in your kitchen.
| Tool | Purpose |
|---|---|
| Stud finder | Locate wall studs for stability |
| Electric drill | Drill holes and drive screws |
| Level | Ensure shelves are horizontal |
| Measuring tape | Measure wall and shelf distances |
| Wall anchors | Support shelves without studs |
| Mounting brackets | Secure shelf attachment |
| Screwdriver | Tighten or adjust fasteners |
| Safety glasses | Protect eyes during installation |
Precision Mounting Techniques
Careful measurement becomes paramount during installation. Use a level to ensure your shelf brackets are perfectly horizontal creating a stable platform for your kitchenware. Attach mounting brackets securely, drilling pilot holes to prevent wall cracking and using appropriately sized screws for your wall material. Consider the weight of items you plan to store and select mounting hardware that exceeds those requirements. Explore advanced shelving installation strategies to enhance your kitchen storage approach.
Once installed test each shelf by applying gentle pressure and checking stability. Verify that brackets are completely flush against the wall with no wobbling or movement. Remember that proper installation not only ensures safety but also contributes to the overall aesthetic and functionality of your kitchen open shelving design.
Step 5: Organize and Style Your Open Shelves
Organizing and styling open shelves transforms them from mere storage spaces into visual storytelling opportunities within your kitchen. This step is about creating a balanced display that combines functionality with personal aesthetic while maintaining practical accessibility. Think of your open shelves as a curated canvas where utility meets design.
Strategic Arrangement Techniques
Start by grouping kitchenware with intentional purpose. Create visual rhythm by arranging items in a way that feels both organized and artful. Consider height variation placing taller items toward the back and shorter pieces in front. Ceramic plates work beautifully when stacked at slight angles while colorful mugs can be arranged in ascending or descending height sequences. Mixing practical items with decorative elements like small plants ceramic figurines or vintage kitchen tools adds personality and breaks visual monotony.
Weight distribution becomes crucial when styling open shelves. Heavier items should anchor the lower sections while lighter decorative pieces can occupy upper levels. Practical organization meets aesthetic appeal when you balance functionality with visual interest. Avoid overcrowding shelves leave some breathing room between items to prevent a cluttered appearance. A good rule of thumb is to leave about 30% of each shelf open allowing individual pieces to stand out.
Maintaining Functional Elegance
Consider the frequency of use when positioning items. Everyday dishes and frequently used cookware should be easily accessible placed at eye level or lower shelves. Seasonal or decorative items can occupy higher or less convenient spaces. Explore innovative shelving organization strategies to refine your approach. Color coordination can elevate your shelving design select a consistent color palette that complements your kitchen’s existing design scheme. White dishes with subtle blue accents or earthy ceramic tones can create a cohesive look that feels intentional and sophisticated. Remember that open shelving is not just about storage it is about creating a visual narrative that reflects your personal style and culinary passion.
Step 6: Evaluate and Adjust Your Display for Functionality
Evaluating and adjusting your open shelving is an ongoing process that ensures your kitchen remains both functional and visually appealing. This final step transforms your initial installation into a dynamic storage solution that adapts to your changing needs. Think of your open shelves as a living design element that requires periodic attention and refinement.
Systematic Performance Assessment
Functionality trumps appearance when it comes to kitchen storage. Begin by observing how you interact with your newly installed open shelves over several weeks. Track which items you reach for most frequently and which remain untouched. Pay attention to how easily you can access kitchenware and whether the current arrangement disrupts your cooking workflow. Some shelving configurations might look stunning but prove impractical during actual kitchen use.
Consider creating a simple tracking method. Take photographs of your shelves periodically and compare them. Note any frustrations or inefficiencies that emerge during daily use. Weight distribution and accessibility become critical factors. Heavier items should be placed on lower shelves to prevent potential accidents. Frequently used cookware needs prime positioning where they can be grabbed quickly and without unnecessary stretching or rearranging.
Continuous Refinement Strategies
Maintaining open shelving is an art of constant adjustment. Every few months reassess your arrangement and be willing to make changes. Some seasonal variations might require different styling approaches cooking tools used more frequently during holiday seasons might need more prominent placement. Discover advanced home organization techniques to keep your kitchen looking fresh and functional. The goal is creating a storage system that not only looks beautiful but genuinely supports your daily kitchen activities. Your open shelves should simplify your life not complicate it. Be prepared to experiment rotate items and find the perfect balance between aesthetic appeal and practical utility.
Transform Your Kitchen Shelves Into Everyday Showpieces
Tired of cluttered countertops, mismatched containers, and the daily struggle to find what you need in your kitchen? This article showed you how mastering open shelving can bring both beauty and efficiency to your kitchen, but the real transformation begins with the right storage tools. Address those tough pain points like limited space, inconsistent aesthetics, and disorganized shelves with expertly designed solutions made just for open shelving. Upgrade your kitchen storage with our premium selection of storage bins, containers, baskets, and organizers—all crafted to help you create the tidy, stylish kitchen you deserve.

Start turning your open shelving vision into reality today. Shop the full collection on BLUSHBEES USA and unlock exclusive deals on everything you need to keep your kitchen organized and beautiful. Thousands of homeowners have already said goodbye to kitchen chaos. Don’t miss your chance to create a space you love—act now and discover the difference that the right storage makes.
Frequently Asked Questions
What are the advantages of open shelving in kitchens?
Open shelving offers easy access to frequently used items, encourages a more organized display of kitchenware, and can create a visually appealing focal point in your kitchen design.
How do I choose the right material for my kitchen open shelving?
Selecting the right material depends on your kitchen’s overall style and the intended use. Wood provides warmth and traditional charm, metal offers durability and a modern look, while glass adds a sleek minimalist touch.
What are effective organization strategies for open shelving?
Strategic grouping by purpose, varying heights for visual interest, and maintaining balanced weight distribution are key strategies. Avoid overcrowding shelves to ensure both functionality and aesthetic appeal.
How do I maintain my open shelving for long-term functionality?
Regularly evaluate the placement of items based on usage frequency, be willing to adjust the display as your needs change, and ensure heavier items are stored on lower shelves for easy access and safety.

