
Most people think pantry chaos is just part of everyday kitchen life. Turns out, a few simple steps can completely flip that mess into a space you actually enjoy using. And get this, just by sorting and cleaning your shelves, you can cut your expired food waste by up to 30 percent. Welcome to pantry organization made easy.
Table of Contents
- Step 1: Assess Your Current Pantry Condition
- Step 2: Empty And Clean Your Pantry Space
- Step 3: Categorize And Sort Your Pantry Items
- Step 4: Select Storage Solutions And Containers
- Step 5: Organize Your Pantry Items By Category
- Step 6: Label And Maintain Your Pantry Organization
Quick Summary
| Key Point | Explanation |
|---|---|
| 1. Assess and empty your pantry | Thoroughly evaluate your pantry by removing all items, checking expiration dates, and categorizing contents for better organization. |
| 2. Clean all surfaces thoroughly | Use a mixture of warm water and white vinegar to clean pantry surfaces, ensuring a hygienic environment for food storage. |
| 3. Categorize pantry items efficiently | Sort items into logical categories based on cooking habits to facilitate easy access and reduce food waste. |
| 4. Invest in suitable storage solutions | Select clear, airtight containers for dry goods and specialized tools like Lazy Susans for optimal organization and ease of use. |
| 5. Maintain with labeling and inventory | Create clear labels and establish a quarterly review system to track contents, encouraging family participation in organization. |
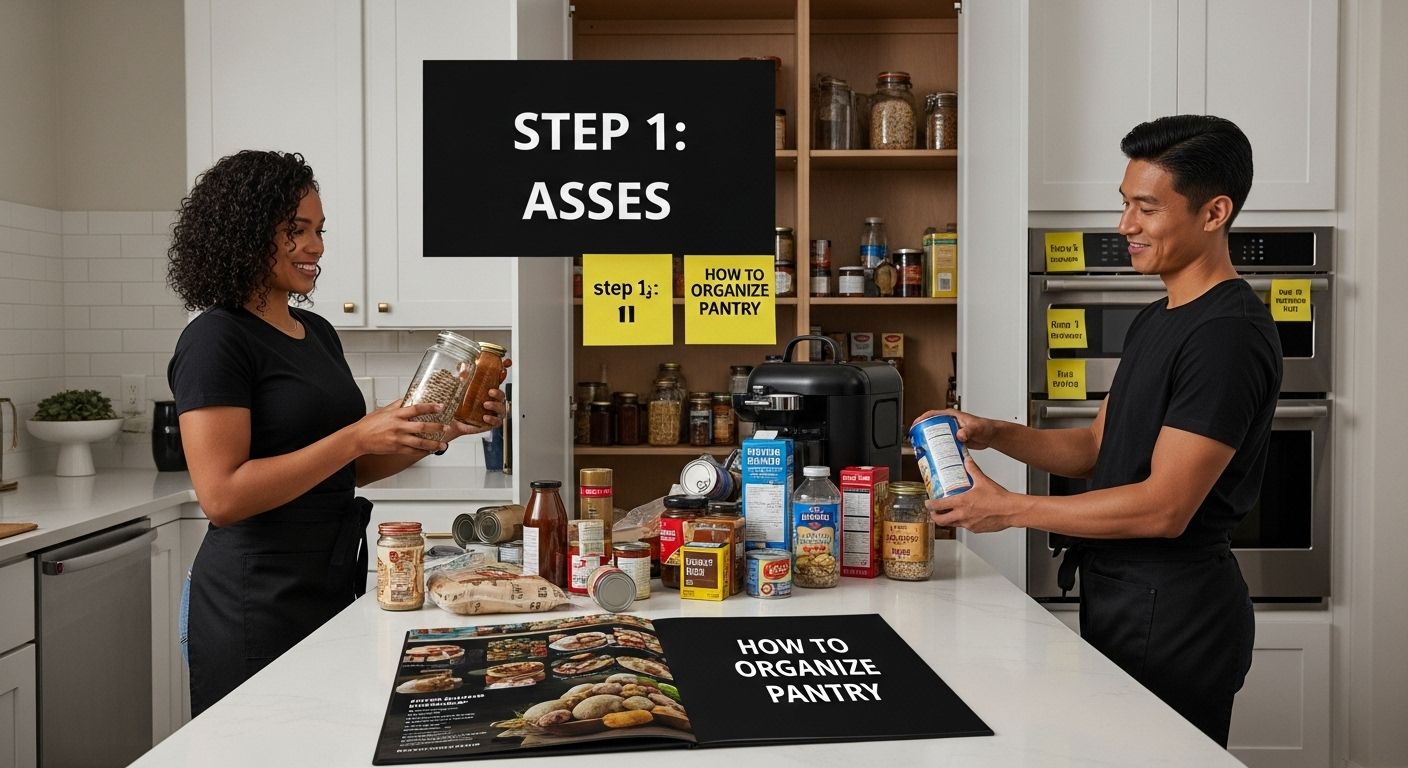
Step 1: Assess Your Current Pantry Condition
Effective pantry organization starts with a comprehensive assessment of your current storage situation. Before diving into stylish solutions, you need to understand the unique landscape of your kitchen storage. This initial evaluation will help you develop a targeted strategy that transforms chaos into a streamlined, functional space.
Begin by completely emptying your pantry. Remove every item, from those barely touched spice containers to the forgotten bags of pasta tucked in the back. Spread everything out on a clean countertop or table where you can see each item clearly. This process might seem time consuming, but it’s crucial for truly understanding what you have and what you need. As you remove items, check expiration dates and discard anything past its prime. Toss out stale crackers, expired canned goods, and any packages showing signs of damage or pest intrusion.
Next, conduct a detailed inventory of your pantry contents. Group similar items together create natural categories like baking supplies, canned goods, grains, snacks, and spices. This sorting process reveals surprising insights about your food storage habits. You might discover you have multiple half empty bags of rice or several duplicate spice containers. Pay attention to how much space each category requires and which items you use most frequently.
Check out our guide on smart kitchen storage solutions to help you plan your organizational strategy.
Finally, assess your current pantry’s physical condition. Examine shelves for stability, look for signs of wear or damage, and measure the actual usable space. Consider factors like shelf height, depth, and overall configuration. Are your current shelves maximizing vertical space? Do you have awkward corners or hard to reach areas? These observations will guide your subsequent organization efforts, helping you select storage solutions that truly fit your specific pantry layout. By taking this methodical approach, you transform a potentially overwhelming task into a strategic planning session that sets the foundation for a perfectly organized pantry.
Step 2: Empty and Clean Your Pantry Space
Emptying and cleaning your pantry is more than just a simple tidying task. It is a strategic process that sets the foundation for an impeccably organized storage space. This critical step ensures a hygienic environment for your food and prepares your pantry for a complete transformation. Start by gathering your cleaning supplies before you begin. Ideal cleaning tools include microfiber cloths, all purpose cleaner, warm water, white vinegar, a scrub brush, and disposable gloves.
Remove every single item from your pantry shelves. Place items on a clean countertop or large table, arranging them by category as you go. This methodical approach prevents accidental breakage and allows you to thoroughly inspect each item. Carefully check for signs of damage, expired products, or potential pest contamination. While removing items, create separate piles for things you will keep, donate, and discard. Discover additional organization strategies in our comprehensive home tidying guide.
Once the pantry is empty, begin the deep cleaning process. Mix a solution of warm water and white vinegar for a natural, food safe cleaning method. Wipe down all surfaces thoroughly, paying special attention to corners, edges, and any areas with previous spills or sticky residue. Use a scrub brush for stubborn spots and tough grime. After cleaning, allow the surfaces to air dry completely. This prevents moisture buildup that could potentially lead to mold or mildew. A completely dry surface is crucial before returning any food items. Consider lining shelves with washable shelf liners for easier future cleaning and an extra layer of protection. Your meticulously cleaned pantry is now ready for the next phase of organization, setting the stage for a streamlined and efficient food storage system.
Step 3: Categorize and Sort Your Pantry Items
Categorizing and sorting your pantry items is the strategic backbone of an efficient kitchen storage system. This step transforms random food placement into a logical, accessible arrangement that saves time and reduces food waste. Think of your pantry as a personal grocery store where every item has a designated home. Begin by creating broad categories that make sense for your cooking and eating habits. Common categories include baking supplies, canned goods, grains and pasta, snacks, international ingredients, breakfast items, and cooking oils and condiments.
As you sort, be ruthless about eliminating duplicate items and outdated products. Group similar items together and consider their frequency of use. Items you reach for daily should be placed at eye level and in easy to access locations. Less frequently used ingredients can be stored on higher or lower shelves. Consider creating a zone system where each category has its own dedicated space. For instance, baking supplies might occupy one shelf, while weeknight dinner ingredients occupy another. Learn more about smart kitchen organization techniques to refine your approach.
Prepare to invest in some organizational tools that will elevate your pantry from cluttered to curated. Clear, stackable containers are ideal for storing dry goods like rice, pasta, and flour. These transparent containers not only look sleek but allow you to instantly see when supplies are running low. Use labels to mark each container with contents and expiration dates. For smaller items like spices and packets, consider tiered shelf risers or drawer organizers that maximize vertical space and prevent items from getting lost in the back of the pantry. Your goal is to create a system so intuitive that anyone in your household can maintain it effortlessly. By the end of this sorting process, your pantry should feel like a well organized command center for meal preparation and grocery management.
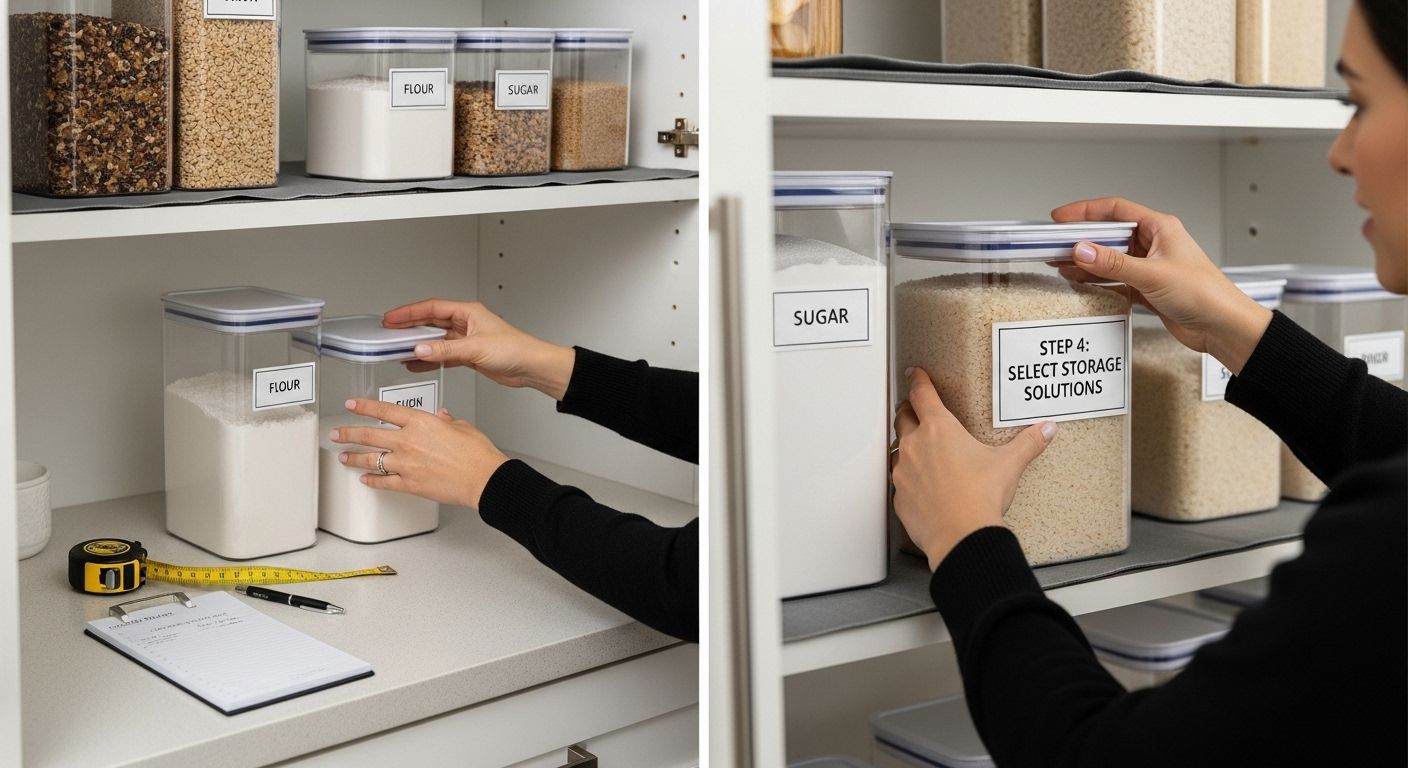
Step 4: Select Storage Solutions and Containers
Selecting the right storage solutions transforms a basic pantry into a highly functional kitchen command center. Your container choices are more than just storage tools they are the architectural framework of your organizational system. Begin by considering the unique characteristics of your pantry space. Measure shelf heights, depths, and overall dimensions carefully to ensure your chosen containers will fit perfectly and maximize every inch of available space.
Invest in a mix of clear, airtight containers for dry goods like flour, sugar, pasta, and rice. These transparent containers serve multiple purposes they protect food from moisture and pests, keep ingredients fresh longer, and allow you to instantly see when supplies are running low. Choose containers with uniform shapes that stack efficiently, creating a clean visual aesthetic while optimizing vertical storage. Glass and high quality plastic containers with secure, snap lock lids work best. Explore creative ways to repurpose and maximize your storage options to add versatility to your pantry organization.
Beyond standard containers, incorporate specialized storage solutions that address specific organizational challenges. Lazy Susan turntables are perfect for spices, condiments, and smaller jars, allowing easy access to items that would otherwise get lost in the back of shelves. Pull out drawer organizers work wonderfully for packets, seasoning mixes, and smaller items that tend to create clutter. Consider adjustable wire shelving or risers to create additional vertical storage space, effectively doubling your usable pantry area. Wire baskets are excellent for storing produce, allowing air circulation and preventing premature spoilage. Remember that the goal is not just to store items, but to create a system that makes meal preparation and grocery management effortless and intuitive.
Here is a summary table of common pantry storage solutions discussed in the article, along with their recommended uses and benefits.
| Storage Solution | Ideal Use | Key Benefit |
|---|---|---|
| Clear Airtight Containers | Dry goods (flour, sugar, rice, pasta) | Visibility, freshness, pest protection |
| Lazy Susan Turntables | Spices, condiments, jars | Easy access to hard-to-reach items |
| Pull-Out Drawer Organizers | Packets, seasoning mixes, small items | Reduces clutter, maximizes organization |
| Wire Shelves/Risers | Creating additional vertical space | Doubles usable shelf area |
| Wire Baskets | Produce, snacks | Air circulation, prevents spoilage |
| Shelf Liners | All pantry shelves | Easy cleaning, extra protection |
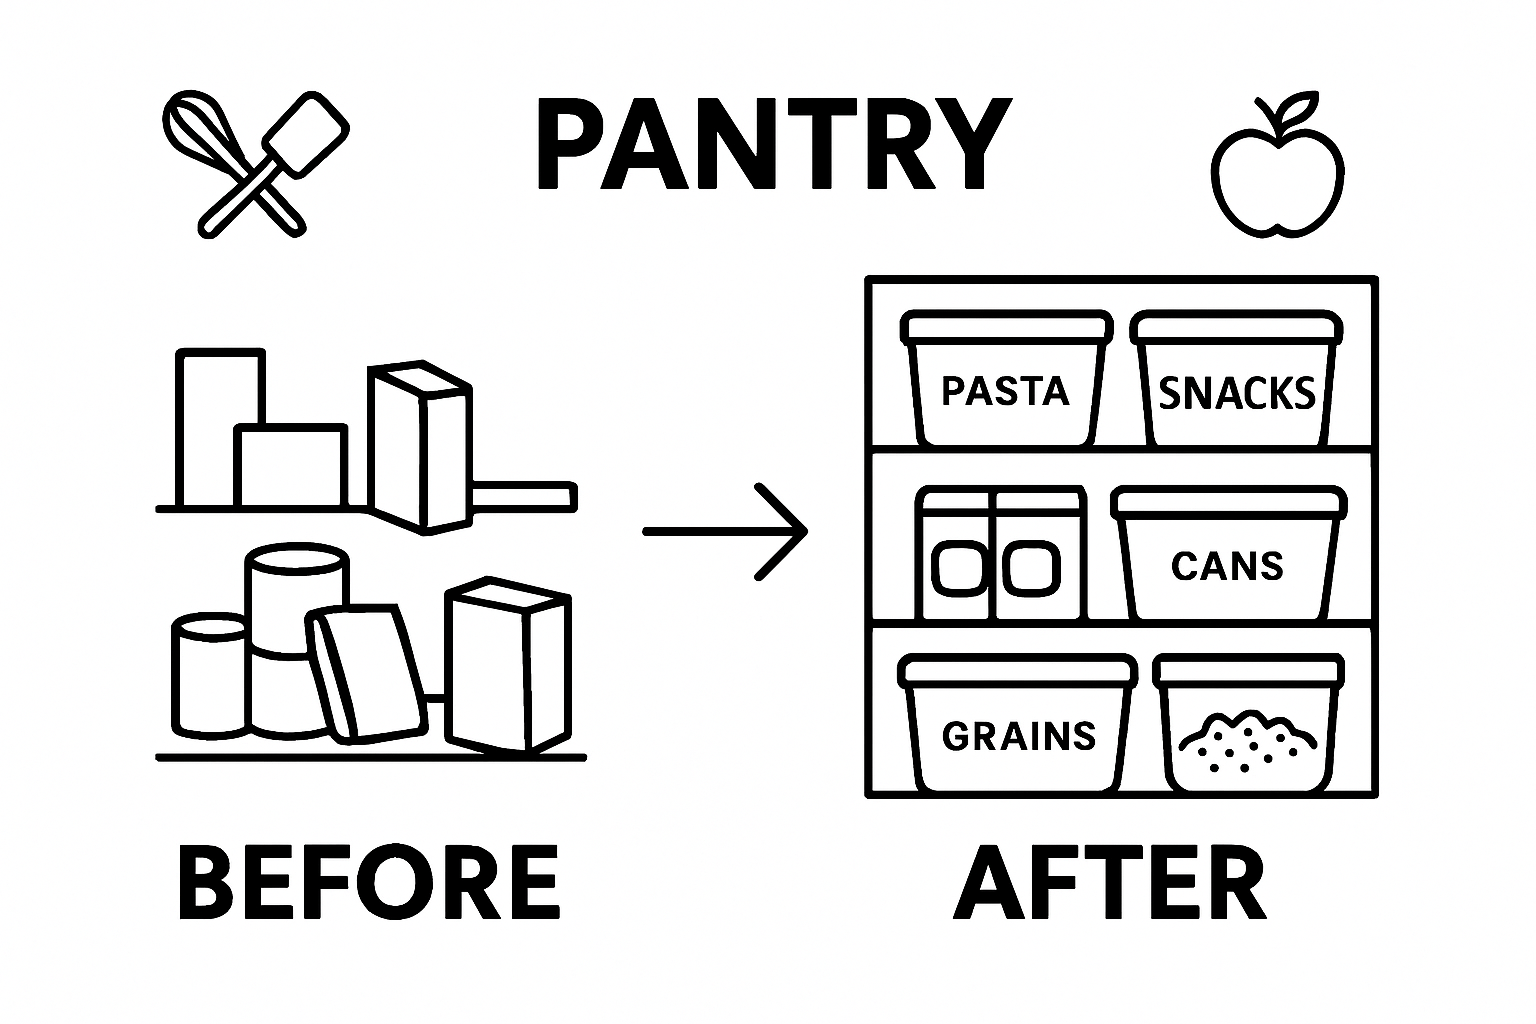
Step 5: Organize Your Pantry Items by Category
Organizing pantry items by category is the strategic blueprint that transforms a chaotic storage space into a streamlined culinary command center. Think of your pantry as a miniature grocery store where every item has a precise location and purpose. Begin by establishing primary categories that reflect your cooking and eating habits. Common categories include baking supplies, grains and pasta, canned goods, snacks, breakfast items, international ingredients, baking spices, cooking oils, and condiments.
Create a logical placement strategy that prioritizes accessibility and frequency of use. Items you reach for daily should occupy prime real estate at eye level and in easily accessible containers. Heavier items like large bags of flour or rice work best on lower shelves, while lighter and less frequently used ingredients can be stored on higher shelves. Consider creating dedicated zones within your pantry. For instance, establish a baking zone with all flour, sugar, vanilla, baking powder, and related items grouped together. Explore more kitchen organization techniques for seamless storage to refine your approach.
Implement a clear labeling system to maintain your organizational structure. Use waterproof, removable labels that clearly indicate contents and expiration dates. Color coding can add an extra layer of organization place colored dot stickers on containers or shelves to quickly identify different categories. For example, blue dots might represent baking supplies, green for grains, and red for international ingredients. This visual system makes restocking and maintaining your pantry organization intuitive for everyone in the household. By the end of this process, your pantry should feel like a well designed system that not only looks aesthetically pleasing but also functions as an efficient hub for meal preparation and grocery management.
Step 6: Label and Maintain Your Pantry Organization
Labeling and maintaining your newly organized pantry is the critical final step that transforms your hard work into a sustainable system. Think of labels as the communication system that keeps your pantry running smoothly. Choose high quality, waterproof label makers or invest in removable chalk labels that can be easily updated as your pantry contents change. Focus on creating clear, consistent labels that include both the item name and the purchase or expiration date. This approach not only helps track inventory but also prevents food waste by ensuring older items are used first.
Establish a quarterly maintenance routine to keep your pantry in top condition. Every three months, conduct a comprehensive review of your pantry contents. Remove expired items, wipe down containers, and reassess your organizational strategy. Rotate your stock by placing newer items behind older ones, following the first in first out principle. Discover additional kitchen organization strategies to complement your pantry maintenance efforts. Consider creating a simple inventory tracking system using a small whiteboard or digital app that helps you monitor what you have and what you need to restock. This proactive approach prevents overbuying and ensures you always have the ingredients you need for meal preparation.
Encourage family members to participate in maintaining the pantry organization. Create a simple set of guidelines that everyone can follow, such as returning items to their designated spots and updating labels when containers are refilled. Visual cues like color coded labels or strategically placed reminder signs can help reinforce these habits. Your goal is to create an organizational system so intuitive that maintaining it becomes second nature.
Below is a checklist-style table to help guide your quarterly pantry organization maintenance routine for a sustainable, easy-to-follow system.
| Maintenance Task | Description | Why It Matters |
|---|---|---|
| Remove expired items | Review all pantry items, discard as necessary | Prevents food waste, keeps pantry safe |
| Wipe down containers and shelves | Clean wipes for containers and all shelf surfaces | Maintains hygiene, prevents pests |
| Rotate stock | Move newer items behind older ones | Follows first in, first out method |
| Update labels | Rewrite labels as contents or expiration change | Ensures correct identification |
| Review organizational strategy | Assess what is and isn’t working | Improves ease of meal prep |
| Inventory tracking | Mark down what needs to be restocked | Prevents overbuying and running out |
| Family participation reminders | Encourage others to maintain organization | Keeps system consistent and sustainable |
Ready for a Pantry Makeover? Discover Real Solutions for 2025
You worked hard to empty your shelves, eliminate expired products, and sort every last item. But transforming your pantry into a truly breathtaking and efficient space can often feel overwhelming. Are you tired of chaotic shelves or ugly packaging that ruins your kitchen’s style? Do you wish every ingredient was easy to find and beautifully stored, just like you see in the article’s step-by-step organization strategies?
Explore our premium kitchen storage collection for airtight containers, elegant baskets, and smart organizers that match the methodical approach described in your pantry transformation. Our solutions are space-saving and designed for modern homes—so you finally get the clean, organized look you crave, with quality you can trust.

Bring your vision to life today. Shop the latest kitchen storage solutions at BLUSHBEES USA, or browse more clever ideas and deals at our main site. Do not miss this chance to create a pantry you love—get started now before your favorite styles sell out.
Frequently Asked Questions
How do I assess my pantry before organizing?
Begin by completely emptying your pantry and inspecting each item. Check expiration dates, group similar items, and take inventory of what you have to understand your pantry’s current state.
What are the best ways to clean and maintain a pantry?
Utilize a mixture of warm water and white vinegar for cleaning surfaces. Regularly check for expired products, keep shelves dry, and establish a maintenance routine to keep things organized.
How should I categorize my pantry items?
Group items into logical categories based on your cooking habits, such as baking supplies, grains, snacks, and canned goods. Organizing by category ensures easy access and reduces food waste.
What types of containers work best for pantry organization?
Clear, stackable, airtight containers are ideal for storing dry goods like flour and pasta. Using uniform containers helps save space and makes it easy to see when supplies are running low.

