
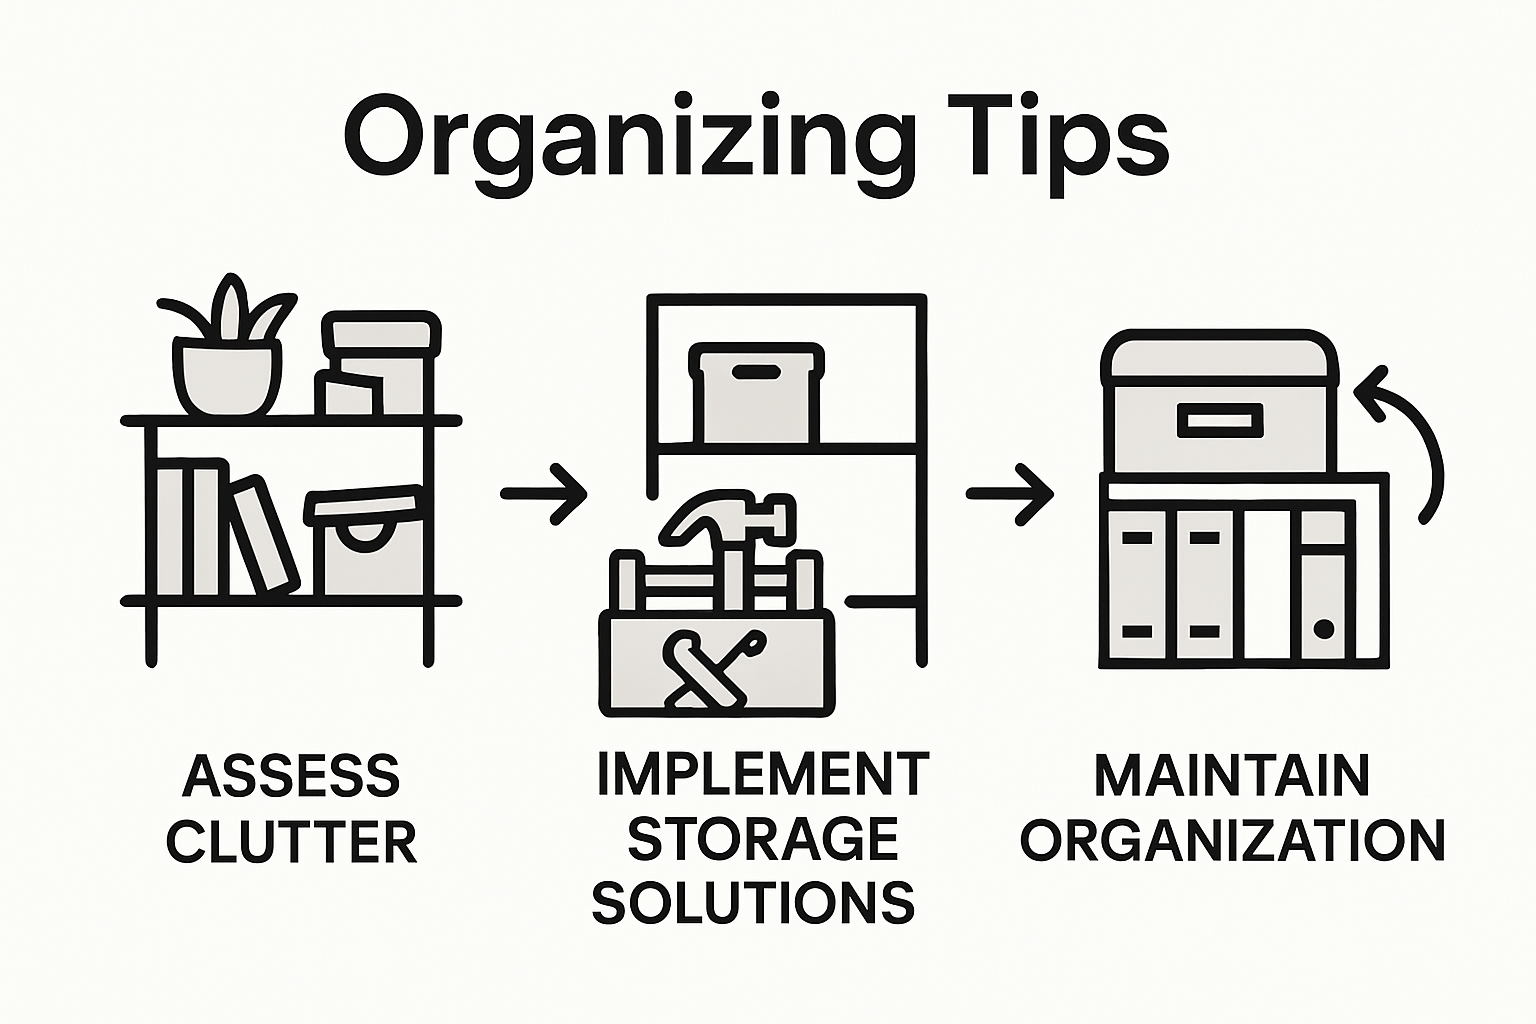
Over half of American households say clutter adds stress to daily life, yet many feel paralyzed about where to begin organizing. Keeping every room in order can quickly become an overwhelming project if you do not have a clear system. This guide walks you through practical steps to pinpoint storage needs and design smart solutions that match your routine, helping you transform any space into a more functional and peaceful home.
Table of Contents
- Step 1: Assess Storage Needs And Prioritize Spaces
- Step 2: Gather Essential Materials And Tools
- Step 3: Design Custom Diy Storage Solutions
- Step 4: Build And Assemble Storage Units
- Step 5: Install And Organize Items Effectively
- Step 6: Review And Adjust For Maximum Efficiency
Quick Summary
| Key Point | Explanation |
|---|---|
| 1. Assess Specific Storage Needs | Conduct a thorough evaluation of your home to identify clutter hotspots and areas lacking organization. |
| 2. Gather Essential Organization Tools | Collect necessary supplies like containers, labels, and measuring tools to prepare for effective storage solutions. |
| 3. Create Custom Storage Solutions | Design personalized storage systems based on your unique needs, utilizing space creatively and functionality. |
| 4. Build and Test Your Storage Units | Assemble your designed storage solutions, ensuring they are sturdy and properly constructed before usage. |
| 5. Regularly Review and Adjust Organization | Periodically reassess your storage systems to ensure they continue to meet your evolving needs and lifestyle. |
Step 1: Assess Storage Needs and Prioritize Spaces
Tackling home organization requires a strategic approach that starts with understanding your unique storage challenges. Assessing your storage needs involves more than just counting available spaces it means evaluating how you actually use different areas of your home and identifying where clutter accumulates most frequently.
Begin by conducting a comprehensive walk through of your living spaces with a critical eye. Note problem areas where items tend to pile up like entryways, kitchen counters, home office surfaces, and bedroom floors. Storage space evaluation techniques recommend creating a detailed inventory of items that lack proper homes and tracking which zones experience the most organizational breakdown. Consider factors such as frequency of use, accessibility, and current storage limitations when prioritizing your efforts.
Pro tip: Take photographs of cluttered spaces before you start organizing. Visual documentation helps you track progress and provides motivation as you transform each area. Your goal is not perfection but sustainable improvement that makes daily living smoother and more enjoyable. Next, youll move into developing targeted solutions for each prioritized space.
Step 2: Gather Essential Materials and Tools
Before diving into your home organization project, youll need to assemble a strategic collection of materials and tools that will transform your storage approach. Think of this step as preparing your organizational toolkit a crucial foundation for creating efficient and functional storage solutions throughout your home.
Start by collecting basic supplies like clear plastic storage containers, label makers, permanent markers, measuring tape, and sturdy cardboard boxes. DIY tool organization strategies recommend having a variety of container sizes to accommodate different types of items and create systematic sorting methods. Invest in quality storage bins with secure lids that stack easily and protect contents from dust and moisture. Additional helpful tools include drawer dividers, shelf liners, command hooks, zip ties, and a reliable step ladder for accessing high storage areas.
Pro tip: Choose neutral colored storage containers that blend with your existing decor and invest in clear bins when possible. This allows you to quickly identify contents without constantly opening and searching through containers. With your materials gathered, youre now ready to move forward and begin implementing your personalized storage strategy.
Step 3: Design Custom DIY Storage Solutions
Custom DIY storage solutions transform ordinary spaces into highly functional organizational havens tailored precisely to your unique needs. This step is about creating personalized storage strategies that maximize every inch of available space while reflecting your individual lifestyle and aesthetic preferences.
Maximizing home space strategies emphasize the importance of thinking creatively about storage design. Consider multi functional furniture pieces that serve dual purposes like ottomans with internal storage, wall mounted shelving units that utilize vertical space, and modular systems that can be reconfigured as your storage needs change. Measure your specific spaces carefully and sketch out potential design concepts before purchasing materials or beginning construction. Focus on solutions that integrate seamlessly with your existing decor and address the specific organizational challenges you identified during your initial space assessment.
Pro tip: Always build a bit of flexibility into your storage design. Choose adjustable shelving systems or modular components that can be easily modified as your storage requirements evolve over time. With your custom solutions designed, youre ready to begin transforming your space into a perfectly organized environment.
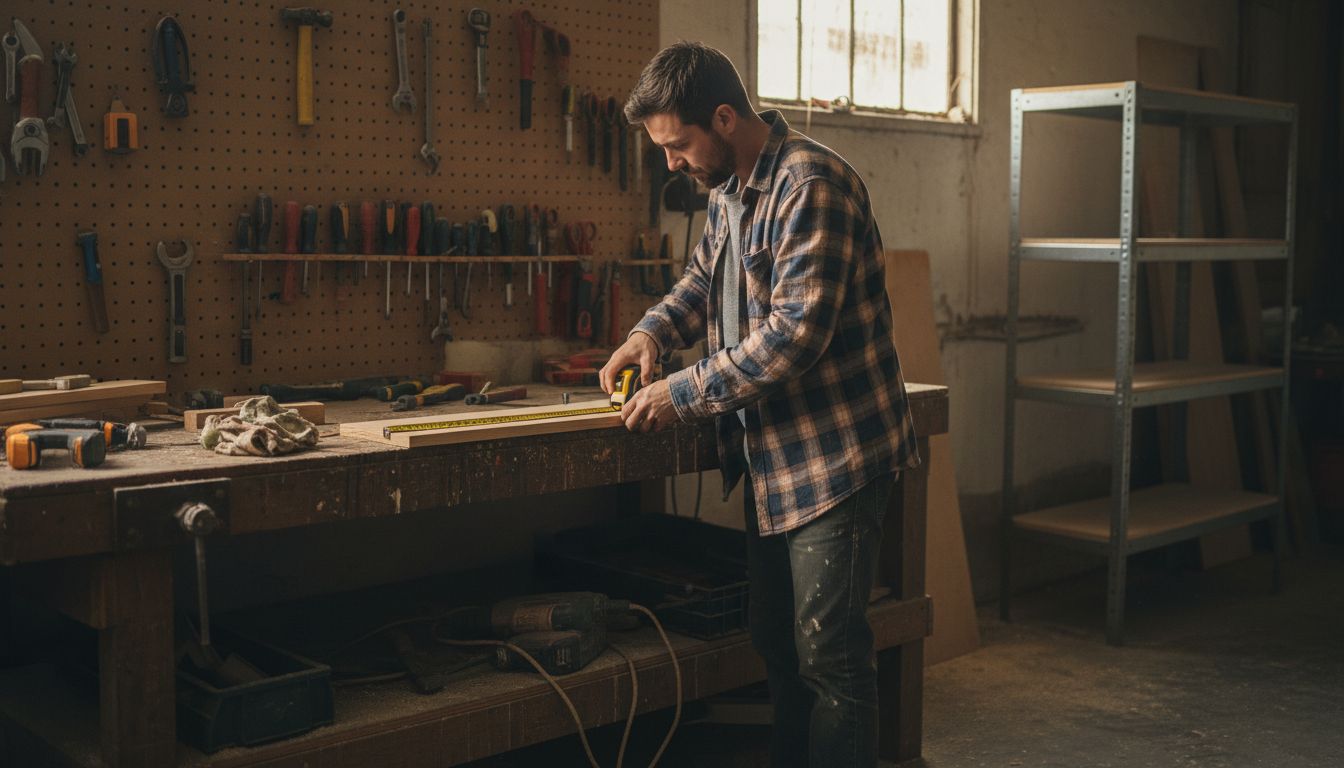
Step 4: Build and Assemble Storage Units
With your design finalized, its time to transform your storage plans into functional reality. Building custom storage units requires patience, precision, and a strategic approach to ensure your organizational solutions are both sturdy and practical.
DIY tool organization techniques emphasize the importance of careful assembly and safety during the construction process. Begin by gathering all necessary materials and tools according to your pre planned design. Carefully measure and cut your chosen materials wood, metal, or plastic ensuring each piece fits precisely within your designated space. Use quality wood screws, brackets, and reliable adhesives to create connections that will withstand daily use. Pay special attention to leveling and squaring your storage units, as even slight misalignments can compromise the structural integrity and functionality of your custom storage solution.
Pro tip: Always test the weight capacity of your storage units before fully loading them. Start by placing lighter items and gradually increase the weight to ensure your DIY storage units can handle their intended purpose. With your storage units built, youre now ready to move on to the final stage of organizing and optimizing your new storage spaces.
Step 5: Install and Organize Items Effectively
With your custom storage units complete, the final phase involves strategically placing and organizing your belongings to maximize functionality and maintain long term organization. This crucial step transforms your storage solutions from mere structures into intelligent systems that simplify your daily life.
Space maximization strategies recommend utilizing vertical space and creating intuitive organizational systems. Begin by sorting items into categories and assigning specific zones within your new storage units. Place frequently used items at eye level or in easily accessible areas, while storing seasonal or rarely used items in higher or less convenient spaces. Consider using clear storage containers, labels, and color coding to create a visual mapping system that helps you quickly locate and return items. Group similar objects together and maintain a logical flow that matches your natural usage patterns.
Pro tip: Implement a regular maintenance routine to prevent clutter from rebuilding. Schedule quarterly reviews of your storage spaces to reassess organization, remove unnecessary items, and adjust your system as your needs evolve. By staying proactive, youll ensure your carefully designed storage solutions continue to serve you effectively over time.
Step 6: Review and Adjust for Maximum Efficiency
Creating an organizational system is not a one time event but an ongoing process of refinement and adaptation. Your initial storage solutions will inevitably need periodic reassessment to ensure they continue meeting your evolving lifestyle and space requirements.
Strategic resource allocation techniques recommend conducting systematic reviews of your storage systems every three to six months. During these evaluations, critically examine how your current organizational approach functions in real world conditions. Look for bottlenecks where items are difficult to access, zones that consistently accumulate clutter, or storage solutions that no longer match your practical needs. Pay attention to how your daily habits interact with the storage units you have created observe which areas work seamlessly and which require modification.
Pro tip: Take periodic photographs of your storage spaces to track your organizational progress. These visual records will help you recognize patterns and validate the effectiveness of your adjustments over time. Remember that perfect organization is a journey of continuous improvement rather than a fixed destination. Stay flexible and willing to experiment with new approaches as your life and storage needs change.
Unlock Clutter-Free Living with Perfect Storage Solutions
Struggling to keep your home organized despite your best DIY efforts is a common challenge. The article highlights how assessing your storage needs, designing custom solutions, and maintaining them consistently can transform your space. To help you overcome common pain points like limited accessibility and clutter buildup, explore our selection of stylish and functional Bedroom Storage Solutions. These premium products are designed to blend seamlessly with your décor while maximizing every inch of your space.
Take control of your home organization today with durable, space-efficient items such as underbed storage boxes. Browse our curated collection at Underbed Storage Boxes – BLUSHBEES USA. With expert craftsmanship and thoughtful design, our storage solutions make it easier than ever to maintain a clutter-free environment. Visit BLUSHBEES USA now to find the perfect additions that complement your DIY efforts and keep your home neat for the long term.
Frequently Asked Questions
What are the first steps to create DIY storage solutions in my home?
Begin by assessing your storage needs and prioritizing areas that tend to accumulate clutter. Conduct a thorough walk-through of your living spaces, identifying locations that require improvement and making a list of items that lack proper storage.
How can I gather the right materials for DIY storage projects?
Collect essential materials such as clear plastic storage containers, permanent markers, and measuring tape. Ensure you have various container sizes to accommodate different items and build a strategic toolkit that will set a strong foundation for your organization efforts.
What types of custom storage solutions can I create for my home?
Consider designing multipurpose furniture or utilizing vertical space with wall-mounted shelving units. Focus on solutions that not only meet your functional needs but also blend seamlessly with your existing decor and lifestyle.
How can I effectively organize items in my new storage units?
Sort items into categories and assign them to specific zones within your storage units. Place frequently used items in easily accessible areas to enhance efficiency and use labels to keep your organizational system clear and intuitive.
How often should I review my DIY storage solutions for effectiveness?
Conduct periodic reviews every three to six months to assess the functionality of your storage systems. This helps you identify any areas that need adjustment or if your organization methods are still serving your evolving lifestyle.
What is a quick way to track my organizational progress?
Take before-and-after photographs of your storage spaces as you organize, allowing you to visually document your improvements. This simple practice provides motivation and insight into the effectiveness of your storage solutions.
Recommended
- 10 Home Organization Tips for a More Tidy and Efficient Living Space – BLUSHBEES USA
- Expert-Approved Small Space Storage Tips And Products – BLUSHBEES USA
- Bedroom Storage tips the Pros use – BLUSHBEES USA
- 7 Simple DIY Organization Ideas for Your Home – BLUSHBEES USA
- How to Store Jewelry: Keep Your Treasures Safe and Organized – TreasuredTale

