
Clutter has a sneaky way of piling up everywhere, even in the most stylish homes. The average person spends two and a half days each year looking for misplaced items. Now here’s what might surprise you. The big challenge is not actually removing things from your home. The real trick is building habits and systems that stop clutter from coming back for good.
Table of Contents
- Step 1: Gather Your Decluttering Supplies
- Step 2: Identify Clutter Hotspots
- Step 3: Sort Items Into Keep, Donate, And Discard
- Step 4: Organize Remaining Items Stylishly
- Step 5: Establish Daily Maintenance Habits
Quick Summary
| Key Point | Explanation |
|---|---|
| 1. Gather essential decluttering supplies | Collect trash bags, donation boxes, cleaning supplies, and sorting bins to ensure an efficient decluttering process. |
| 2. Identify clutter hotspots in your home | Locate areas with accumulated clutter such as entryways and kitchen counters to focus your decluttering efforts effectively. |
| 3. Sort items into keep, donate, and discard | Establish three categories for sorting items quickly and decisively to streamline your decluttering process. |
| 4. Organize items stylishly for functionality | Arrange remaining items in visually appealing ways using storage solutions that enhance your decor. |
| 5. Establish daily maintenance habits | Implement quick routines to return items to their places to maintain organization and prevent clutter buildup. |
Step 1: Gather Your Decluttering Supplies
Every successful decluttering mission begins with proper preparation. Before diving into the chaos of your living spaces, you need a strategic toolkit that transforms your organizational effort from overwhelming to achievable. Think of this step as assembling your home organization arsenal.
Start by collecting essential supplies that will make your decluttering process smooth and efficient. According to Utah State University, you will want to gather a comprehensive set of cleaning and sorting tools. Your core decluttering kit should include:
- Sturdy trash bags for immediate disposal
- Donation boxes for items you want to give away
- Cleaning supplies like all-purpose cleaner and microfiber cloths
- Sorting containers or bins
- Permanent markers for labeling
- Protective gloves
The magic of effective decluttering lies not just in the tools you use, but in your approach. Mental preparation is just as crucial as physical supplies. Set aside dedicated time where you can focus without interruptions. Choose comfortable clothing that allows you to move freely and doesn’t restrict your range of motion. Consider playing energetic music or a podcast to keep your motivation high during the process.
Below is a table summarizing the essential decluttering supplies, their purpose, and tips mentioned for effective preparation.
| Supply | Purpose | Preparation Tip |
|---|---|---|
| Sturdy trash bags | Immediate disposal of trash and unusable items | Choose strong bags to prevent breakage |
| Donation boxes | Collect items to give away | Use labeled boxes to streamline sorting |
| Cleaning supplies | Clean spaces after clearing clutter | Include all-purpose cleaner and cloths |
| Sorting containers or bins | Sort items into keep, donate, discard, relocate | Use different bins for each category |
| Permanent markers | Label boxes and containers | Write clearly to avoid confusion |
| Protective gloves | Protect your hands during sorting and cleaning | Wear when handling dirty or sharp items |
Before starting, create a simple sorting system. Many professional organizers recommend the four box method: keep, donate, trash, and relocate. This approach prevents decision fatigue and helps you move quickly through different areas of your home. Each box represents a clear destination for items, eliminating the temptation to create new piles or get stuck overthinking.
Learn more about stylish home organization strategies that can transform your space. By gathering the right supplies and mentally preparing yourself, you are setting the foundation for a successful decluttering journey. Remember, the goal is progress, not perfection. Your first step is about creating a system that works for you and makes the entire process feel manageable and even enjoyable.
Step 2: Identify Clutter Hotspots
Clutter doesn’t randomly appear overnight it accumulates gradually in specific areas of your home. Identifying these clutter hotspots is a critical strategy that transforms your decluttering process from random cleaning to targeted organization. According to research from the British Psychological Society, understanding these spaces can significantly improve your psychological well-being.
Common clutter hotspots typically include zones where daily activities converge and items tend to accumulate without intentional management. Look closely at areas like entryways, kitchen counters, home office spaces, bedroom surfaces, and bathroom vanities. These locations often become dumping grounds for mail, keys, random paperwork, clothing, and miscellaneous items that don’t have a designated home.
To effectively map your clutter landscape, walk through each room with a critical eye. Imagine you are seeing your space for the first time. Take mental notes or even photograph these areas to get an objective view. Pay special attention to surfaces that collect random items: kitchen counters where mail and appliances pile up, bedside tables with accumulated books and chargers, home office desks drowning in paperwork, and living room side tables cluttered with remote controls and magazines.
Develop a systematic approach by creating a visual inventory of your clutter zones. Use a simple notebook or digital note-taking app to sketch out each room and mark specific areas that need attention. This mapping process helps you prioritize your decluttering efforts and creates a structured plan of attack. Explore more strategies for reducing home clutter to refine your approach.
Your verification checkpoint for this step is simple: you should have a clear, written or photographed overview of your home’s primary clutter zones. These identified spaces will become your focused targets in the upcoming decluttering stages. Remember, recognizing the problem is the first step towards creating lasting organizational change. By pinpointing exactly where clutter accumulates, you’re already making significant progress in your home transformation journey.
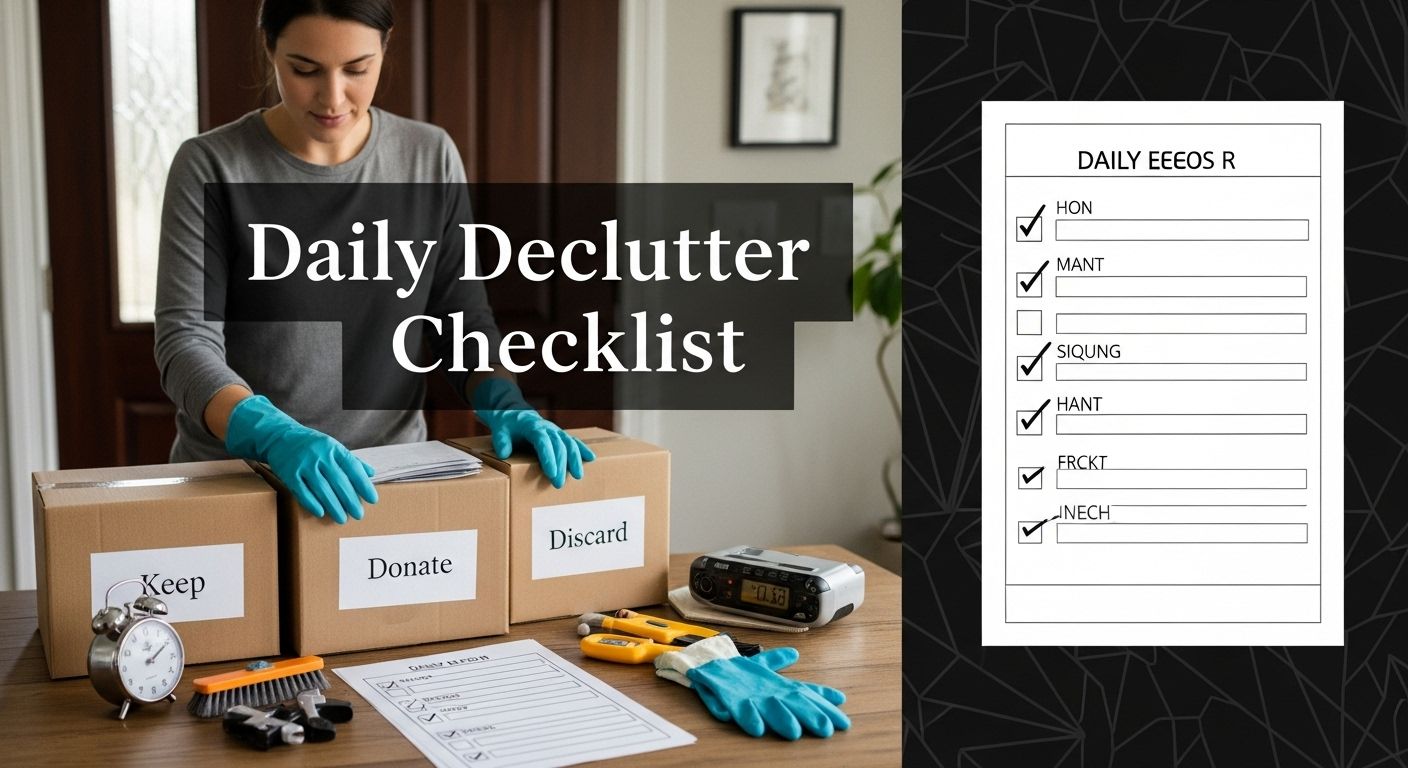
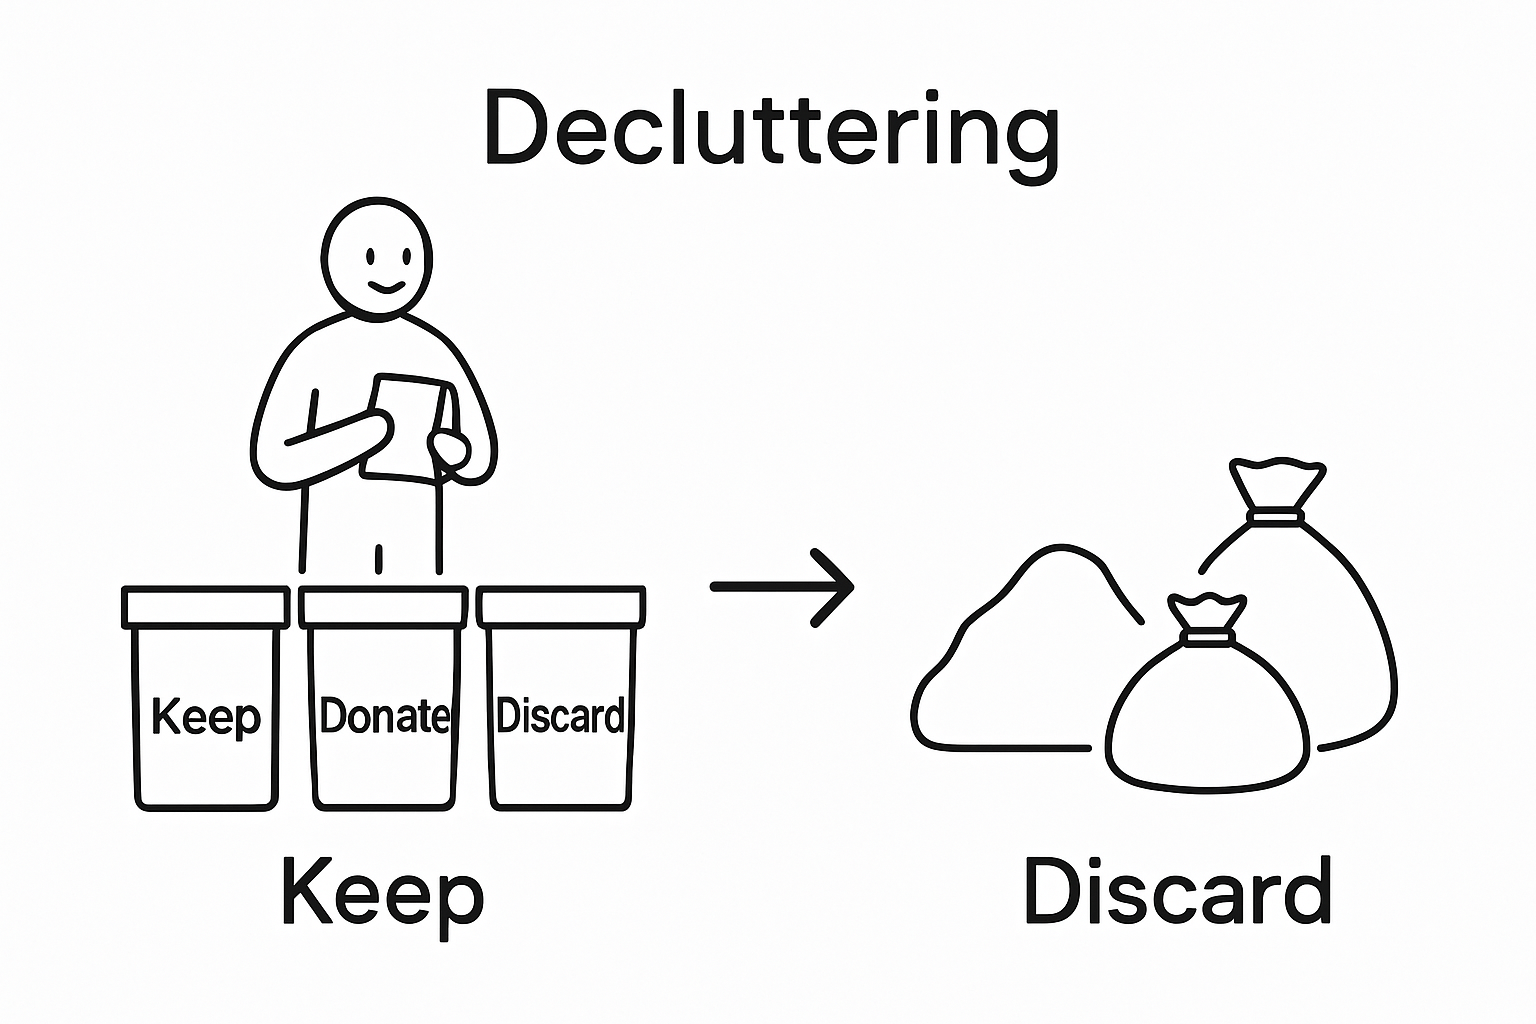
Step 3: Sort Items into Keep, Donate, and Discard
Sorting is the heart of effective decluttering. This pivotal step transforms random piles of stuff into intentional collections that serve your current lifestyle. According to Yale University’s Sustainability Office, the key is making quick, decisive choices about each item you touch.
The sorting process requires emotional detachment and practical thinking. Start by creating three distinct zones: keep, donate, and discard. Approach each item with a critical eye, asking yourself fundamental questions: Have I used this in the past year? Does this item genuinely add value to my life? Would I purchase this again today?
Begin with one specific area or category of items. Clothing works well as an initial sorting ground. Pull everything out and handle each piece individually. Be ruthless in your assessment. Clothes that no longer fit, are damaged, or haven’t been worn in a year should be removed from your active wardrobe. For sentimental items that create emotional hesitation, learn strategies for thoughtfully managing keepsakes.
Establish clear criteria for each sorting category. The ‘keep’ pile should represent items that are functional, bring you joy, and have a clear purpose in your current life. Donation items should be in good condition, clean, and potentially useful to someone else. The discard pile includes broken, worn-out, or truly unusable items that cannot be repaired or donated.
To maintain momentum, set a timer for each sorting session. Thirty to forty-five minutes is typically long enough to make progress without experiencing decision fatigue. Move quickly and trust your initial instincts. If you find yourself overthinking an item, it likely belongs in the donation or discard pile.
Your verification checkpoint is simple: you should have three clearly defined groups of items. The keep pile should be noticeably smaller than your initial collection. Bags for donation should be ready for drop-off, and trash bags prepared for immediate removal. This systematic approach ensures you’re not just moving clutter around, but actively reducing it.
 Remember, the goal is not perfection, but progress toward a more intentional living space.
Step 4: Organize Remaining Items Stylishly
Organization is an art form that transforms functional spaces into personal sanctuaries. After sorting your items, the next crucial step is arranging them in a way that is both practical and visually appealing. According to research on interior design, the spatial organization of a home significantly influences inhabitant activity and well-being.
Aesthetic organization is about creating systems that are as beautiful as they are functional. Start by selecting storage solutions that complement your existing decor. Clear bins, woven baskets, and minimalist shelving can turn organizational tools into design elements. Consider color coordination and visual harmony when choosing containers. For instance, matching storage boxes in neutral tones can create a sense of calm and intentionality in your space.
Implement the ‘zone’ approach to organization. Group similar items together and assign them specific areas. Kitchen utensils stay in designated drawers, office supplies collect in coordinated desk organizers, and clothing finds homes in carefully structured closet sections. Explore more about creating stylish storage solutions that elevate your home’s aesthetic while maintaining practicality.
Vertical space is your secret weapon in stylish organization. Utilize wall-mounted shelves, over-the-door organizers, and hanging systems to maximize storage without cluttering floor space. Think about creating visual layers that are both functional and decorative. A floating shelf can hold books and display small art pieces, transforming storage into a design feature.
Labeling is another critical aspect of maintaining an organized space. Use elegant label makers or handwrite tags that match your home’s aesthetic. Choose fonts and materials that blend with your decor style. Transparent labels on clear containers or minimalist tags on baskets can turn organization into a design element.
Your verification checkpoint is simple: each item should have a designated home, storage solutions should enhance rather than detract from your space’s visual appeal, and you should feel a sense of calm when looking at your newly organized areas. Remember, stylish organization is not about perfection, but about creating a system that makes your daily life smoother and more enjoyable.

Step 5: Establish Daily Maintenance Habits
Maintaining an organized home is a continuous journey, not a one-time event. Daily maintenance habits are the critical infrastructure that prevents clutter from rebuilding and transforms your hard-earned organization into a sustainable lifestyle. According to Mississippi State University Extension Service, creating effective daily habits can fundamentally change how you interact with your living space.
The secret to successful maintenance is creating micro-routines that become second nature. Implement the ‘touch it once’ principle: when you pick up an item, immediately put it in its designated place. This means sorting mail the moment it arrives, hanging up clothes right after changing, and returning kitchen tools to their assigned spots immediately after use. Learn more about letting go of clutter and maintaining organization to reinforce these habits.
Design a daily reset routine that takes no more than 10-15 minutes. This could involve a quick evening sweep where you return items to their homes, wipe down surfaces, and prepare spaces for the next day. Small, consistent actions prevent overwhelming accumulation. Consider creating a simple evening checklist: clear kitchen counters, return living room items to their places, lay out clothes for tomorrow, and do a quick bathroom counter tidy.
Integrate organizational moments into your existing daily rhythms. While waiting for coffee to brew, clear one small surface. During commercial breaks, return three items to their proper locations. These micro-moments of organization prevent clutter from becoming a massive task. Use visual cues like a small basket near entryways for items that need to be returned to other rooms, or hooks for frequently used bags and jackets.
To make these habits stick, track your progress and be kind to yourself. Start with two or three simple maintenance tasks and gradually build. Some days will be more successful than others, and that’s completely normal. The goal is consistent improvement, not perfection. Your verification checkpoint is simple: at the end of each week, your spaces should look relatively similar to how they looked after your initial organization, with minimal new clutter accumulation. Remember, building new habits takes time, but the peace of mind and reduced stress are worth the effort.
This table outlines a checklist of verification steps for each main stage of the daily decluttering process, helping you track your progress and stay organized.
| Step | Verification Checkpoint |
|---|---|
| Gather Your Decluttering Supplies | All supplies are collected and your workspace is ready |
| Identify Clutter Hotspots | Written or photographed overview of main clutter zones is complete |
| Sort Items into Keep, Donate, Discard | Three distinct piles (keep, donate, discard) are clearly defined, donation and trash bags are ready for removal |
| Organize Remaining Items Stylishly | Each item has a designated home, storage solutions complement decor, and spaces visually feel calm and organized |
| Establish Daily Maintenance Habits | Spaces remain tidy at week’s end with minimal new clutter; new routines are being consistently implemented |
Ready to Make Decluttering Effortless Every Day?
The article just walked you through practical steps for daily decluttering, but the real struggle is keeping every space tidy when life gets busy. If you are tired of messy counters, overstuffed closets, or searching for lost essentials, the right storage can make all the difference. Create a clutter-free bedroom using our Bedroom Storage solutions designed to simplify sorting and keep your favorite items organized in style.

Imagine opening your closet or kitchen and finding everything in its place every time. Shop our latest collections at https://blushbees.us and discover quality storage boxes, baskets, and organizers. Take charge of your home today by transforming daily routines into lasting habits. Explore our Kitchen Storage options now and give clutter no place to hide. Start your upgrade now for an organized space you love to come home to.
Frequently Asked Questions
What supplies do I need to start decluttering my home?
To begin decluttering, gather sturdy trash bags, donation boxes, cleaning supplies, sorting containers or bins, permanent markers for labeling, and protective gloves.
How can I identify clutter hotspots in my home?
Walk through each room critically, paying attention to areas where items accumulate, such as entryways, kitchen counters, and home office spaces. Take notes or photos to document these clutter hotspots.
What should I do with items I decide to discard during decluttering?
Items in the discard pile should be evaluated for damage. Broken or worn-out items that cannot be repaired should be thrown away. For items in good condition, consider donating them instead.
How can I maintain my organized spaces after decluttering?
Establish daily maintenance routines, such as the ‘touch it once’ principle, where you immediately put items away after use. Implement a quick evening reset routine to keep spaces tidy and organized.

