
Craft room organization can feel like trying to solve a puzzle with a thousand mismatched pieces. Spread all your supplies out on a table and you might be shocked to realize just how much you have collected over time. But the real surprise is that the secret to creative efficiency is not about having more space or storage bins. It starts with understanding your habits and being ruthless about what stays and what goes.
Table of Contents
- Step 1: Assess Your Current Situation
- Step 2: Sort And Declutter All Craft Supplies
- Step 3: Choose Effective Storage Solutions
- Step 4: Design Your Craft Room Layout
- Step 5: Organize Supplies Into Storage
- Step 6: Maintain Your Organized Craft Space
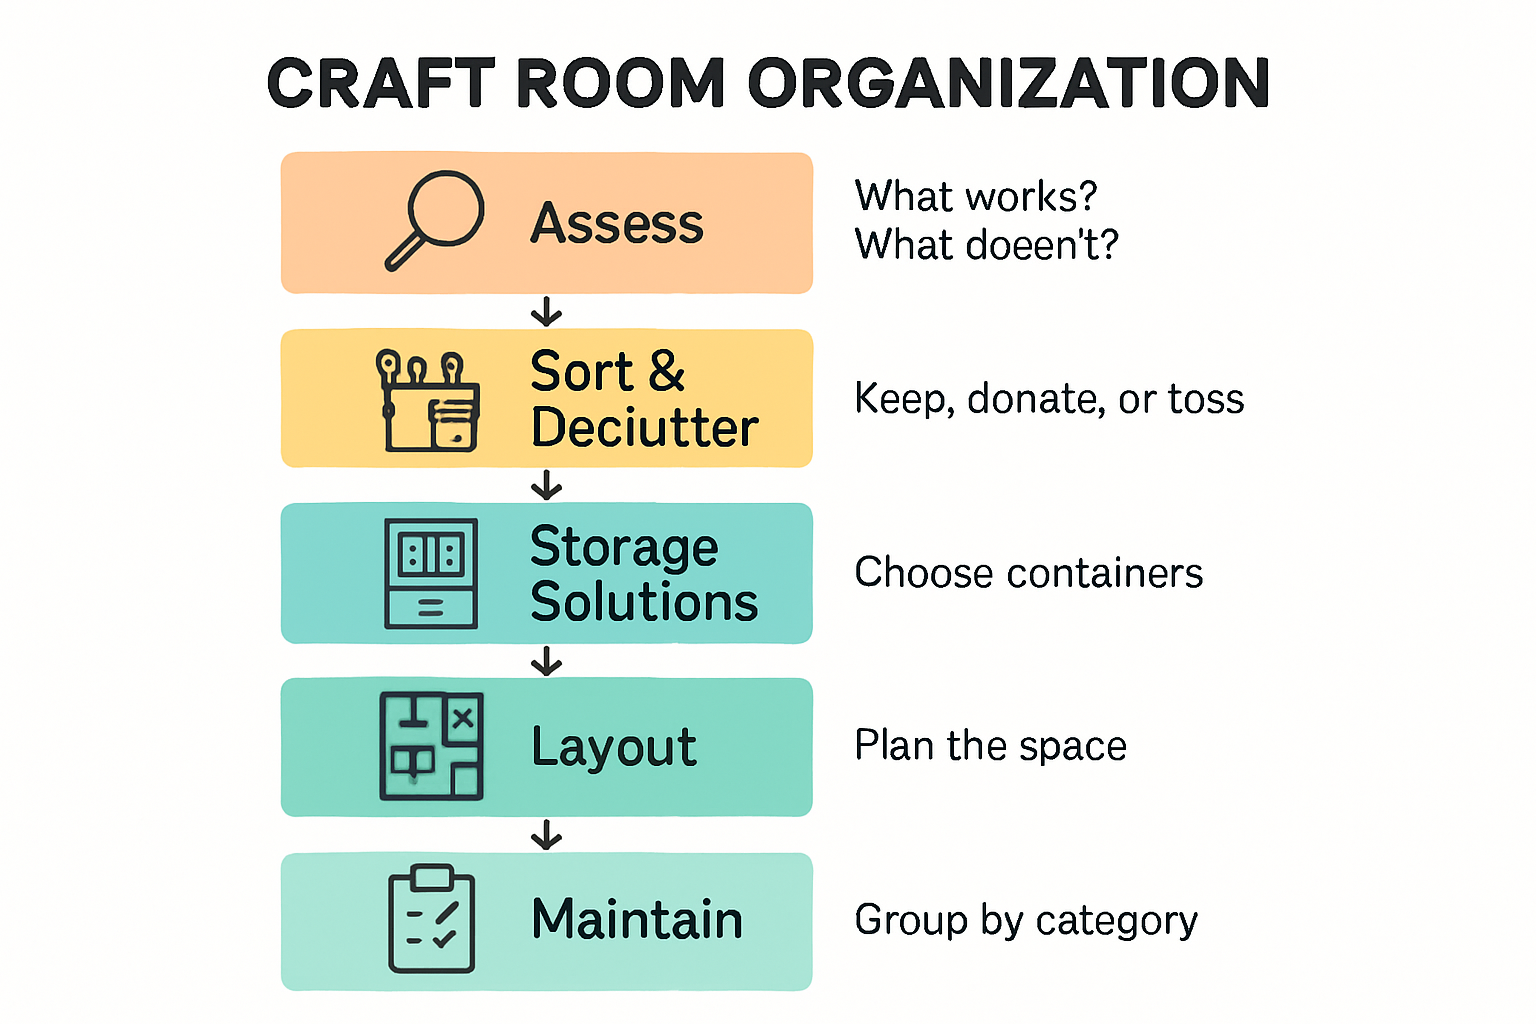
To help you plan your craft room transformation, here is a step-by-step overview table summarizing each major stage, its focus, and the intended outcome.
| Step | Focus | Key Outcome |
|---|---|---|
| 1 | Assess current situation | Clear understanding of what you have and workspace needs |
| 2 | Sort and declutter | Collection curated to support current creative goals |
| 3 | Choose storage solutions | Storage selected for efficiency and style |
| 4 | Design room layout | Functional zones and logical workflow |
| 5 | Organize supplies into storage | Supplies are stored visibly and accessibly |
| 6 | Maintain the space | Sustainable habits to preserve organization |
Quick Summary
| Key Point | Explanation |
|---|---|
| 1. Clear and Inventory Your Supplies | Start by emptying your craft space to identify items, eliminate duplicates, and understand your accumulation. |
| 2. Sort Items into Categories | Create categories like ‘keep,’ ‘donate,’ and ‘discard’ to streamline what to keep based on current crafting interests. |
| 3. Choose Smart Storage Solutions | Use vertical storage options and multipurpose furniture to maximize efficiency and keep supplies organized and accessible. |
| 4. Design an Intuitive Layout | Establish distinct zones for crafting activities to ensure easy access and a natural workflow that inspires creativity. |
| 5. Maintain Order Regularly | Implement a daily reset routine after crafting sessions to keep your space organized and a quarterly review to adapt as needed. |
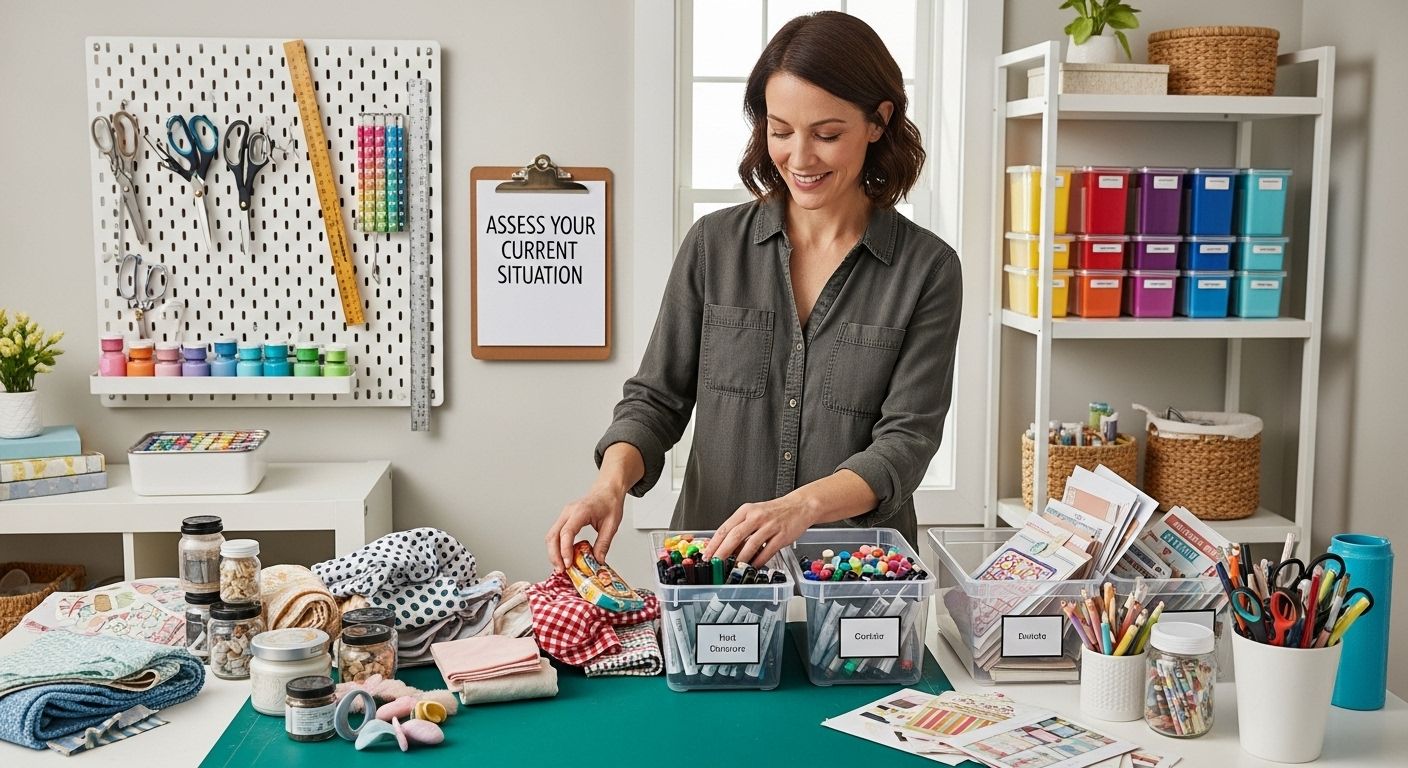
Step 1: Assess Your Current Situation
Craft room organization begins with a critical first step: understanding your current creative space and its limitations. This initial assessment provides the foundation for transforming your crafting area into an efficient and inspiring environment. Your goal is to create a comprehensive snapshot of your existing setup, identifying both strengths and areas needing improvement.
Start by clearing everything out of your craft space and performing a thorough visual inventory. Spread all your crafting materials, tools, and supplies across a large surface where you can see everything at once. This method helps you recognize exactly what you own, eliminate duplicates, and understand the true volume of materials you’ve accumulated. Take photographs from multiple angles to create a visual reference that will guide your organization strategy.
As you review your crafting inventory, categorize items into logical groups such as painting supplies, sewing materials, paper crafting tools, and scrapbooking equipment. Examine each item critically and ask yourself key questions: When was the last time I used this? Does this tool or material still serve my current creative projects? Is it in good condition? Be ruthless about removing items that no longer align with your crafting goals.
The assessment phase also involves analyzing your current workspace’s layout and functionality. Observe how you naturally move and work within the area. Are your most frequently used tools easily accessible? Do you find yourself constantly searching for specific items? Notice the natural workflow and bottlenecks in your current setup. These observations will be crucial when redesigning your craft room organization strategy.
Learn more about decluttering your creative space to complement this assessment process. By the end of this step, you should have a clear understanding of your crafting inventory, a preliminary sense of what works and what doesn’t in your current setup, and a solid foundation for the organizational transformation ahead.
Step 2: Sort and Declutter All Craft Supplies
Sorting and decluttering your craft supplies is a transformative process that will streamline your creative workspace and eliminate unnecessary items. This critical step moves beyond simple organization and focuses on intentionally curating your crafting materials to support your current creative goals and preferences.
Create three distinct sorting categories: keep, donate, and discard. As you go through each item, make quick and decisive choices about its future. For the “keep” category, select items that are in good condition, frequently used, and align with your current crafting interests. Be honest with yourself about your actual crafting habits and avoid holding onto supplies out of guilt or potential future projects that realistically may never happen.
The donation process offers an opportunity to support other crafters while clearing your space. Gently used supplies like fabric remnants, partially used sketchbooks, specialty papers, and extra tools can find new life with local art programs, school art departments, community centers, or crafting groups. These donations not only clear your space but also contribute positively to creative communities.
Learn essential tips for effective home decluttering to complement your craft supply sorting strategy. When discarding items, be mindful of proper disposal methods. Recycle materials like paper and certain plastics, and responsibly dispose of items like dried-out paints, broken tools, or contaminated supplies.
As you complete this sorting process, you should feel a sense of clarity and purpose. Your craft supplies will now represent your current creative vision, with each item intentionally selected and easily accessible. The goal is not just to reduce quantity, but to curate a collection that genuinely inspires and supports your crafting journey.
Step 3: Choose Effective Storage Solutions
Selecting the right storage solutions transforms your craft room from a chaotic space into an organized, inspiring creative sanctuary. The key is to choose solutions that not only contain your supplies but also enhance your workflow and reflect your personal style.
Vertical storage becomes your best friend in maximizing craft room efficiency. Wall-mounted shelves, pegboards, and adjustable track systems allow you to utilize every inch of available wall space. Consider transparent or labeled containers that let you see contents at a glance, reducing time spent searching for specific materials. Magnetic strips work wonderfully for metal tools like scissors and rulers, keeping them accessible while maintaining a clean, streamlined look.
Invest in multipurpose furniture that integrates storage seamlessly into your craft room design. Rolling carts with multiple tiers provide mobility and flexibility, allowing you to reconfigure your workspace as needed. Cabinets with pull-out drawers ensure deeper storage without sacrificing accessibility. Look for furniture pieces that offer hidden storage compartments - such as ottomans with internal spaces or desks with built-in drawers - which help maintain a sleek, uncluttered aesthetic.
Selecting the right storage solutions is key to an efficient and inspiring craft room. The following table compares different types of storage mentioned in the guide, highlighting their best uses and advantages.
| Storage Type | Best Use | Key Advantages |
|---|---|---|
| Wall-mounted shelves | Displaying or accessing supplies | Maximizes vertical space, visible storage |
| Pegboards | Small tools and accessories | Customizable, easy tool access |
| Rolling carts | Mobile supplies and tools | Flexible, reconfigurable workspace |
| Transparent bins | Sorted materials/tools | Easy identification, dust protection |
| Drawer organizers | Small parts, embellishments | Prevents tangling, compartmentalizes |
| Multi-purpose furniture | Integrated & hidden storage | Reduces clutter, dual function |
| Hanging organizers | Threads, ribbons, specialty tools | Saves workspace, visible access |
Explore innovative storage ideas for stylish organization to further refine your craft room strategy. When selecting storage solutions, prioritize adaptability. Modular systems that can be reconfigured allow your storage to evolve alongside your crafting interests. Clear plastic bins with secure lids, stackable containers, and drawer organizers help categorize supplies while protecting them from dust and potential damage.
By the end of this step, your craft room should feel intentional and efficient. Each storage solution should serve a specific purpose, making your creative process smoother and more enjoyable. Remember, the goal is not just to store items, but to create a system that inspires and supports your crafting journey.
Step 4: Design Your Craft Room Layout
Designing your craft room layout is a strategic process that transforms your space from mere storage to a functional creative sanctuary. The goal is to create an environment that supports your crafting workflow, maximizes efficiency, and inspires creativity while maintaining aesthetic appeal.
Start by establishing a primary workspace that anchors your entire room. This central area should accommodate your most frequent crafting activities, ensuring comfortable movement and easy access to essential tools. Consider positioning your main work surface near natural light sources like windows, which provide excellent illumination and can boost your creative energy. Proximity to electrical outlets is crucial for powering crafting tools, so map out your electrical needs before finalizing furniture placement.
Zoning becomes critical in craft room design. Create distinct areas for different crafting activities, such as a sewing station, painting corner, or scrapbooking nook. Each zone should have its dedicated storage solutions and tools within arm’s reach. Implement the workflow principle of keeping frequently used items at eye level and within immediate grasp, while storing less-used materials in higher or lower storage spaces. Rolling carts and mobile workstations can help you flexibly reconfigure your space as project needs change.
Discover smart home organization strategies to complement your craft room layout planning. Pay attention to traffic flow within the room, ensuring you can move between zones without awkward navigation. Leave enough open floor space for larger projects or temporary setup requirements. Your layout should feel intuitive, with a natural progression between different crafting areas that feels both logical and inspiring.
By the end of this step, your craft room layout should feel like a personalized creative studio that anticipates your crafting needs. Each area should serve a specific purpose, with thoughtful placement of furniture, storage, and work surfaces that support your unique creative process.
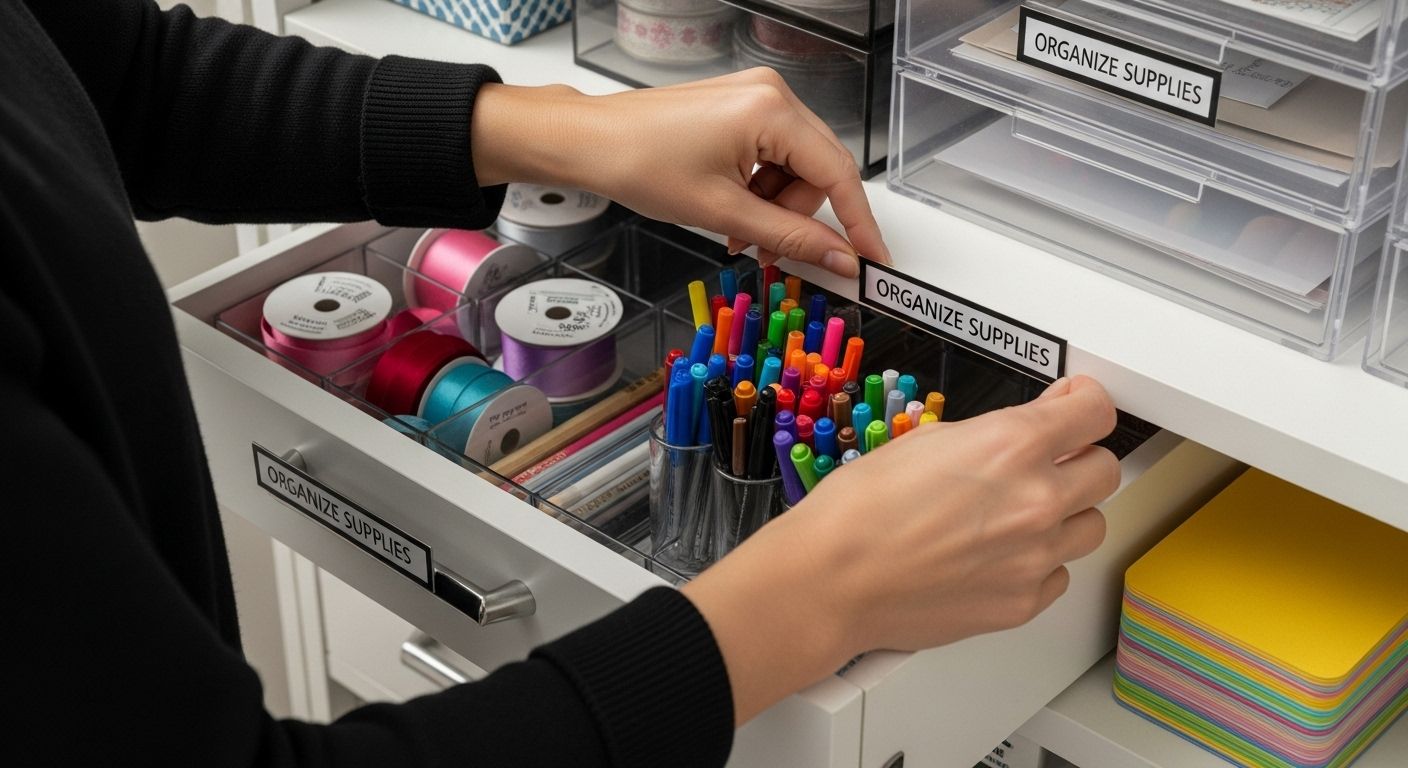
Step 5: Organize Supplies into Storage
Organizing your craft supplies into storage is the pivotal moment where your carefully planned layout transforms into a functional creative workspace. This step requires strategic thinking, attention to detail, and a systematic approach that balances accessibility with aesthetic appeal.
Color coding becomes a powerful organizational strategy for crafters seeking both visual appeal and practical organization. Utilize transparent containers with color-coordinated labels that match your supplies. For instance, group green-labeled containers for painting materials, blue for sewing supplies, and red for paper crafting tools. This method not only makes locating items faster but also creates a visually pleasing storage system that reflects your creative personality. Invest in adjustable drawer dividers and small compartment containers to further subdivide and protect delicate or small crafting elements.
Consider the frequency of use when determining storage placement. Position your most frequently used supplies at eye level and within immediate reach, creating an intuitive workflow that minimizes disruption during creative sessions. Hanging organizers work wonderfully for items like ribbons, thread spools, and specialty tools, allowing vertical storage that saves valuable workspace. Rotating carousel storage units can transform corner spaces into highly efficient supply stations, providing 360-degree access to your crafting materials.
Explore smart home organization techniques to enhance your craft supply management. Create a digital or physical inventory list to track your supplies, preventing unnecessary duplicate purchases and helping you understand your actual crafting needs. Implement a quarterly review system where you reassess your storage solutions, removing outdated materials and adjusting your organizational approach as your crafting interests evolve.
By the end of this step, your craft supplies should be meticulously sorted, easily accessible, and arranged in a manner that inspires creativity while maintaining order. Each container and storage solution should serve a specific purpose, transforming your craft room from a chaotic space into a streamlined creative sanctuary.
Step 6: Maintain Your Organized Craft Space
Maintaining your newly organized craft space is an ongoing process that requires consistent effort and mindful practices. Think of your craft room as a living environment that needs regular attention to preserve its functionality and inspire continued creativity. The key is developing sustainable habits that prevent clutter from gradually creeping back into your carefully designed space.
Implement a daily five-minute reset routine at the end of each crafting session. This simple practice involves returning every tool to its designated location, wiping down work surfaces, and quickly scanning the room to ensure everything is in its proper place. Invest in attractive storage containers with clear labels that make returning items intuitive and quick. Consider using a small timer or setting a phone alarm to make this end-of-session cleanup a non-negotiable part of your crafting ritual. The goal is to create a muscle memory around organization, transforming it from a chore into an automatic part of your creative process.
Discover additional home organization strategies to support your craft room maintenance efforts. Schedule a quarterly deep organization review where you critically assess your storage solutions, purge unnecessary items, and adjust your system as your crafting interests evolve. During these reviews, check for worn-out containers, reassess your categorization methods, and ensure that your organizational system continues to serve your creative needs. Pay attention to how your crafting habits change and be willing to modify your storage approach accordingly.
Consider creating a small maintenance log or digital tracker to monitor your organization progress. Note any challenges you encounter, successful storage solutions, and areas that need improvement. This reflective practice helps you continuously refine your craft room organization strategy, ensuring that your creative space remains a source of inspiration and efficiency. By treating organization as an ongoing conversation with your creative environment, you transform maintenance from a mundane task into an integral part of your crafting journey.
Transform Your Craft Room Into a Masterpiece of Organization
Are you tired of creative chaos holding back your inspiration? If you dream of a functional and stylish craft room where every supply has its place, your journey does not end with sorting and decluttering. Achieving a beautifully organized space requires storage solutions that truly fit your unique needs. Whether your pain point is too many materials or a lack of efficient storage options, Blushbees USA can help bring your organization vision to life.

Take action now and discover our full range of smart and attractive Bedroom Storage products — perfect for craft rooms needing bins, baskets, drawer organizers, and more. Your newly organized space will not only boost efficiency but also spark new creativity every single day. Shop today at Blushbees USA to create the inspiring craft room you deserve.
Frequently Asked Questions
How can I effectively assess my current craft room situation?
Start by clearing out your space and performing a visual inventory. Spread all materials out on a large surface to identify what you have, eliminate duplicates, and understand your supply volume. Document the layout and functionality of your workspace to pinpoint areas needing improvement.
What are some effective methods for sorting and decluttering craft supplies?
Create three categories: keep, donate, and discard. Be decisive, retaining only items you frequently use and that align with your current crafting interests. Donating unused supplies helps others while clearing your space, and proper disposal is essential for broken or unusable items.
What storage solutions are best for maximizing space in my craft room?
Vertical storage is optimal; use wall-mounted shelves, pegboards, and containers that allow you to see contents easily. Rolling carts and multipurpose furniture enhance flexibility, while modular systems can adapt to your evolving needs. Look for items that integrate storage with your room aesthetic.
How can I maintain my organized craft space?
Establish a daily routine for tidying up after each crafting session. This includes returning all tools to their designated spots. Consider scheduling quarterly reviews to reassess your storage solutions and make adjustments based on your current crafting activities.

